Tracking Pages
Introduction
A Tracking Page is an indispensable tool for those who shop online.
This section of the manual was created to provide a comprehensive and detailed guide to using Logivery's Tracking Pages . Our mission is to simplify the shipment tracking process by offering an intuitive and powerful tool to manage your deliveries efficiently and stress-free.
This page provides real-time information on the status and location of the customer's package. In other words, a tracking page allows you to follow the package's journey, providing security and peace of mind to those who have relied on our services. It is a fundamental element that improves the online shopping experience, making it more transparent and reliable.
Furthermore, with the integrated editor it is possible to modify the graphics and information of the Tracking Page that will subsequently be displayed to the customer as desired .
Enter the Tracking menu
1. From the main dashboard, find the "Tracking Page" option in the Settings section of the left menu.
Configuration
1. Click on the Add Tracking Page button at the top left to go to the Tracking Page setup and creation page. 
2. Once you have entered the Tracking page creation menu, enter an identifying name of your choice to create your personalized Tracking page. 
and click on the Save and continue button.

Edit tracking page
1. On the Editing page, the available languages are displayed in tab order. By default, the selected language matches the user's browser language. If this is not available, the system will automatically set the default language.

Click the buttons below to make your preferred language active.

2. Once you have chosen the language, enter the title of your Tracking Page in the appropriate field.

Inserting the Company Logo
1. Click in the Edit Logo field to enter the company logo entry page.

2. Within the Editing page, there is a field dedicated to the company logo and five fields for inserting banners: four horizontal and one vertical. These elements allow you to precisely and specifically customize the final design of your Tracking page.

The Tracking Page Editor
1. Customize your Tracking Page in just a few clicks! Access the Editor via the "Edit Logo" field and add your logo and text to make it truly yours.
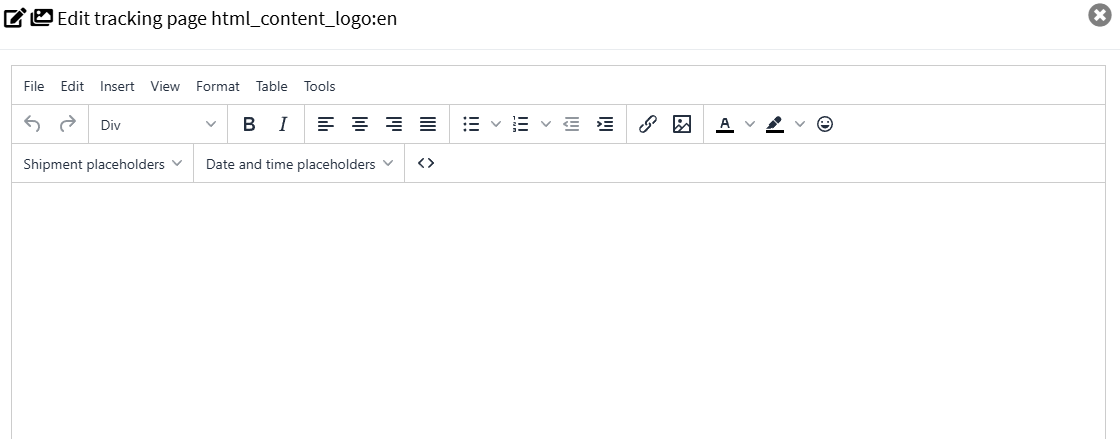
2. In the top menu, click the "Insert" button to access a drop-down menu containing options for uploading your company logo image.
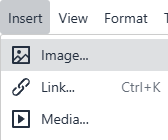
3. Click Image to display the upload menu.
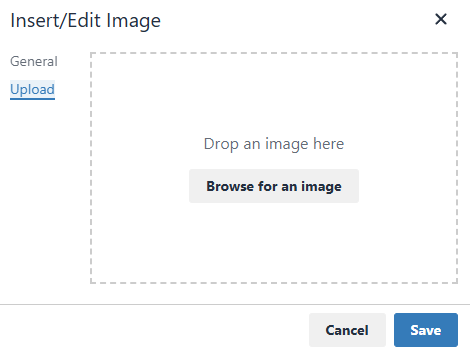
4. From the side menu, select "Upload" to browse your archive and select the desired image, or drag it directly into the upload box.


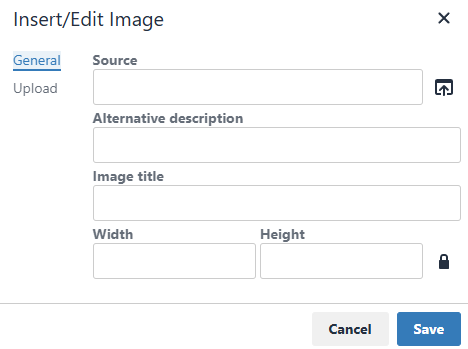
5. After uploading, an informational summary is displayed on the screen, including the image path and its dimensions in pixels.
6. The user can add further details to the image, such as a title and description. To finalize the upload, simply click "Save."
7. Once uploaded, the image can be resized to the desired dimensions or freely repositioned, using the tools available in the editor.

8. Click the "Close and insert the modified data" button at the bottom to complete the operation and return to the main page.

Want to see the results of your customizations? Click the yellow "Preview" icon to open a Tracking Page preview!

9. You can also preview your Tracking Page as it will appear on PC and mobile devices by simply clicking the " Switch layout " button.

Example of PC display

Mobile view example

Entering shipping information
1. In the Shipping menu of the Editor, there is a function for automatically entering shipping information.
- Transport information
- Departure (place and/or date of departure of the package)
- Destination (expected delivery location)
- Order (associated order identification number)
- Courier (name of the shipping service used)
- Tracking (tracking code provided by the courier)
2. The system allows you to automatically insert the date and time of creation of the Tracking Page.
Meta information.
1. To optimize the visibility , sharing and indexing of the Tracking Page, you can manually enter the Meta Information.

2. In the Meta Information section , you are required to enter the following three fields:
- Meta Title:
Enter a title that represents the Tracking Page. This field helps identify the content in search engines and internal platforms. - Keywords:
Specify a series of relevant keywords, separated by commas. Keywords make it easier to search and classify the page in information systems.
Example: tracking, shipping, package, delivery - Meta Description:
Enter a brief description of the page's content. This text will be associated with the Tracking Page for optimization and preview purposes in compatible systems (e.g., search engines, social media).
Module customization information
1. Within the Customizer Information section , you can define settings for future customizations of the Tracking Page using languages such as CSS and JavaScript .

Finalization
1. Once you have customized the Tracking Page, the system offers the possibility to:
- Check the changes you made using the preview.
- Choose whether to publish your changes immediately or keep them for further review.
- Select your preferred Tracking Page , if there are multiple versions or layouts available.

Tracking Page Created Summary
1. After saving the editing , the system displays the complete list of Tracking Pages created by the user on the main screen .
The user has the option to re-edit it or permanently delete it using the appropriate buttons.

Tawk.to User Support