WooCommerce
Introduction
The integration between Logivery and WooCommerce allows you to automate and centralize order management and logistics flows.
Orders received through WooCommerce are synchronized in real time with the Cloud app, ensuring an accurate, consistent and seamless operational flow.
Configuration
1. The first step is to create a connection with WooCommerce Connector.
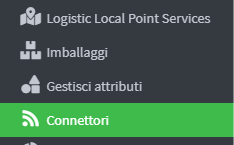
2. Click Connectors ( 📄 Sales Channels & Connectors ) in the left menu under the Configurations heading.
3. Click Add Connector at the top right 
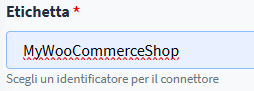
5. Go to the WooCommerce connector configuration page and enter an identifying label to easily distinguish the connector within the system.
6. In the “ Website URL ” field, enter the full address of your WooCommerce account , for example https://yourdomain.com. This URL allows the connector to communicate properly with your online store.

7. Click Save & Continue to finish.
8. After saving the configuration, the system automatically generates an authorization token and the Logivery app URL , which are needed to complete the connection between WooCommerce and the Cloud platform.

9. The last step is to download the Logivery plugin compatible with the version of your WordPress/WooCommerce software, which is necessary to complete the integration.

10. Click Download to start downloading the compressed file of the Logivery module for WordPress 
Uploading the form to WooCommerce
1. In the WordPress side menu , click on “ Plugins ” and then on “ Add a Plugin”

Click 'Upload Plugin' in the top left corner.

2. On the " Upload Plugin " page , click the " Choose File " button to open the file upload window. From here, you can select and import the desired plugin into the system.
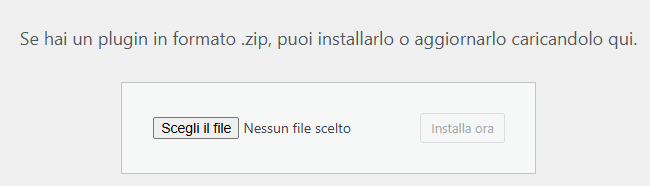
3. Select the downloaded Plugin zip file and wait for installation.
4. Once the installation is complete, click Logivery.
WooCommerce Setup
1. In the WordPress main menu , in the left column, the “Logivery” item is now visible , which allows you to access the settings and features of the WooCommerce integration .
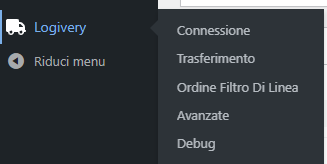
2. Once entered the “Logivery” section within WordPress , the user sees a complete menu to configure all the parameters necessary for the integration with WooCommerce .
Connection
1. On the “ Connection ” page, you will be asked to enter the authorization token and the Logivery app URL , generated when creating the connector. These parameters are essential for establishing communication between WooCommerce and the Logivery platform .

2. Press Save to complete the operation  and then Test Connection to test the connection.
Transfer
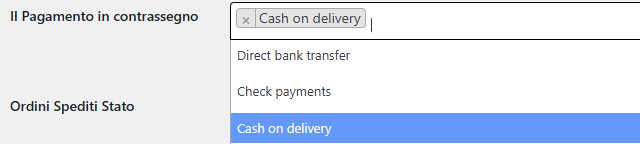
1. Within the “ Transfer ” menu , the first option to configure is “Cash on Delivery”.
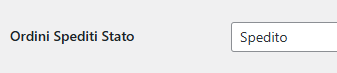
2. In the Orders Shipped Status field, select the status to consider as shipped.
3. In the Delivered Order Status field , select the status to consider as delivered.

4. Click the “ Automatic Transfer ” button to enable automatic order synchronization from WooCommerce to Logivery.
5. In the “ Max Orders to Send ” field , you can set the maximum number of orders that the system is allowed to simultaneously transfer from WooCommerce to the Cloud Logivery app.

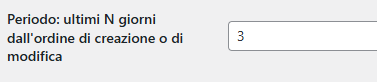
6. In the “ Period: last N days from order creation or modification ” field, the user can define the time range within which orders will be considered valid for automatic transfer from WooCommerce to the Cloud Logivery app .
7. In the “ Cancel orders in status ” field, the user can select one or more order statuses that allow automatic cancellation during the synchronization process with Logivery.

8. In the “ Payment Methods ” field, you can apply filters that can be selected via the drop-down menu, so as to limit the automatic transfer to orders that use specific payment methods.

9. In the “ Shipping Method ” field, you can select the delivery method to assign to the courier, choosing from the options available in the drop-down menu.

10. The Destination field allows you to apply specific filters to select the locations to which you want to manage or limit order shipping.
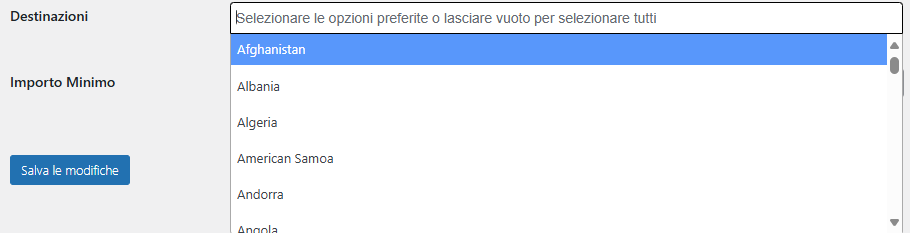
11. The Minimum Amount field allows you to set a financial threshold below which an order cannot be fulfilled . This is a very useful feature for ensuring operational and commercial sustainability.

12. Click Save Changes to finish
Filter Configuration Order Line
1. In this screen the user can decide not to pass all the order lines by filtering them by products.
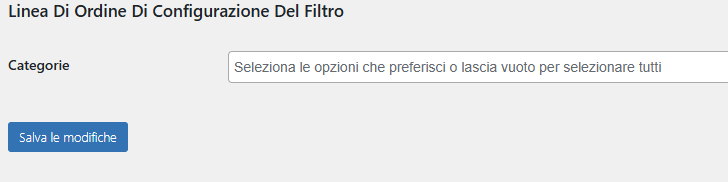
2. Click Save Changes to finish
Advanced
1. User has the option to enable Debug mode to get more information from the logs .

2. Enabling Delete data when uninstalling the module will delete all related data.

3. Click Save to finish.
Orders from WooCommerce
1.
Click “Orders” in the left-hand menu under “WooCommerce” in your WordPress admin panel.
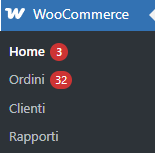
2. When you access the Orders page from your WooCommerce admin panel , you will see a complete list of all orders received in your online store.
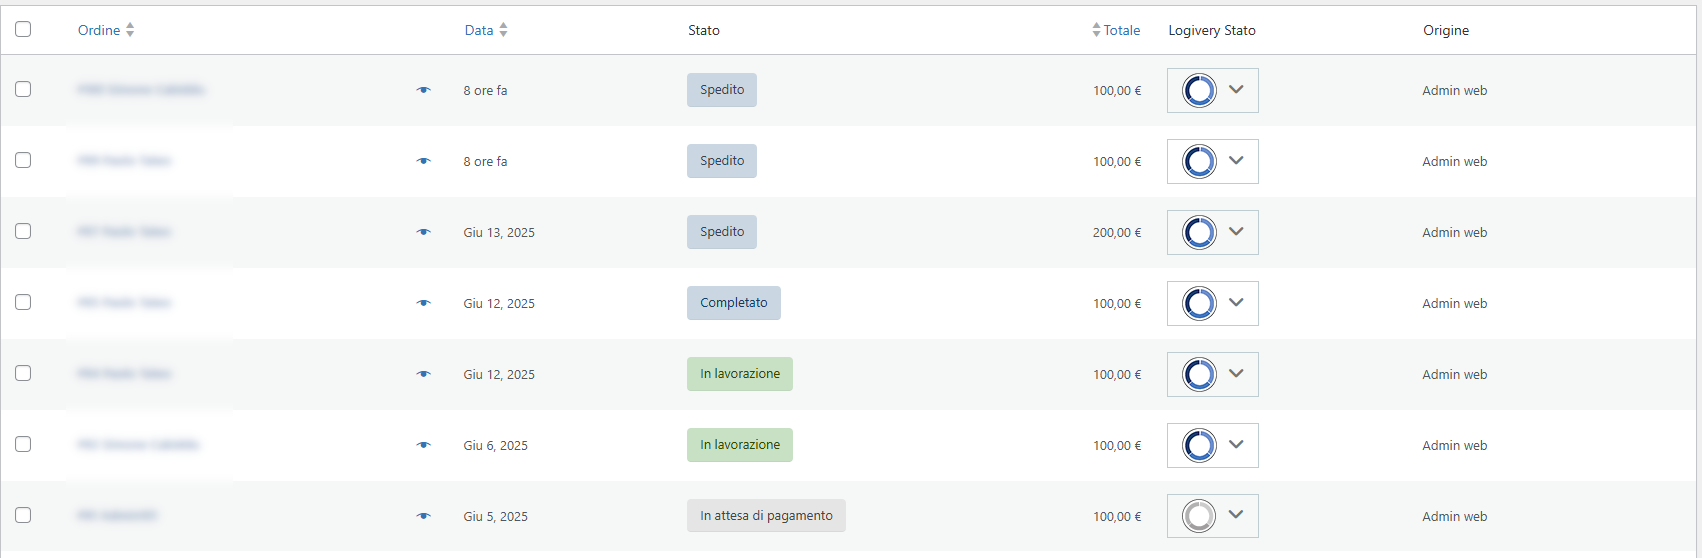
Order Statuses
1. On the Logivery Orders page , the status of each order can be easily consulted thanks to the icons visible in the "Logivery Status" column . These icons visually represent the progress and status of each shipment or order, making tracking immediate and intuitive.
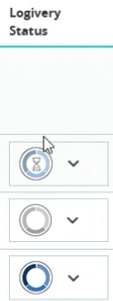
- Order not synced with Logivery
- Order awaiting synchronization with Logivery.
Clear hourglass icon.
The order has been placed in the synchronization queue and is being processed by Logivery. This status indicates that the transfer is imminent but not yet complete. - Order synchronized with Logivery
Color icon
The order has been successfully transferred and registered on Logivery. From now on, it can be managed for shipping, tracking, and updates.
(light gray icon)

The order was created in WooCommerce but hasn't yet been sent to Logivery. It may be pending review or excluded from automatic sync rules.
Order synchronization
1. Returning to the Orders page , the user can see the newly created order in the list, marked with the “Not Synced” status . This means that the order has been recorded in the system, but has not yet been transferred to Logivery for logistics management.

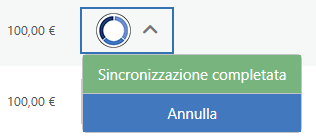
2. To start synchronizing the order with Logivery , the user simply needs to click on the synchronization menu icon located next to the order status in the Logivery Status column .
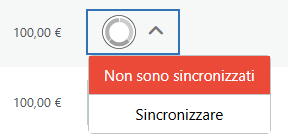
3. When the user starts the synchronization by clicking on the dedicated icon, the order status automatically moves to the “synchronization queue” . 
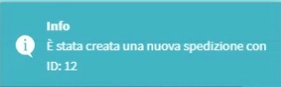
4. When you return to the Cloud App , a confirmation message appears at the top of the interface informing you that the order has been created , including its unique ID.
5. Once the order has been created and synchronised, it will become visible in the Cloud Apps list , within the dashboard or dedicated interface.
6. To view the detailed summary of an order , the user simply needs to click on the arrow under the Order Lines menu ,
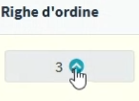
The order summary displays all associated lines in detail, with the following key information for management and verification:
- ID : unique identifier of the order line, useful for tracking and internal references
- Item code : internal product code, often linked to the management system or the catalogue
- GTIN code : global code (e.g. EAN-13) that uniquely identifies the product internationally
- Title : name or description of the product, also visible to the customer
- Quantity : Number of units ordered for each item
- Unit Value : Price per single unit, useful for total calculation and margin analysis

Delete order
1. In the WooCommerce order list , you have the option to manually cancel an order easily and directly.
2. Click on the order status menu to view available options.
3. To cancel, click Cancel.
4. After canceling an order, when returning to the Cloud App , a confirmation message appears at the top informing you that the order has been successfully canceled .