Shipment log
Introduction
The Shipping Register is the document used to summarize what is given to the courier when the collection takes place, in fact it is a detailed list that summarizes the items that are physically delivered to the collection.
Configuration
1. Click on the Shipping Register item in the left menu under the Operations column .
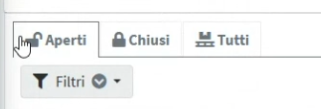
2. In the configuration page the user views the Shipping Register statuses on the top left bar:
- Open: the open status (black open padlock icon) identifies all documents in the list that are still editable and not delivered to the courier.
- Closed: The closed status (black closed padlock icon) identifies in the list all the documents that have been processed and delivered to the courier.
- All : In this list (black pallet icon) you will find both open and closed documents.
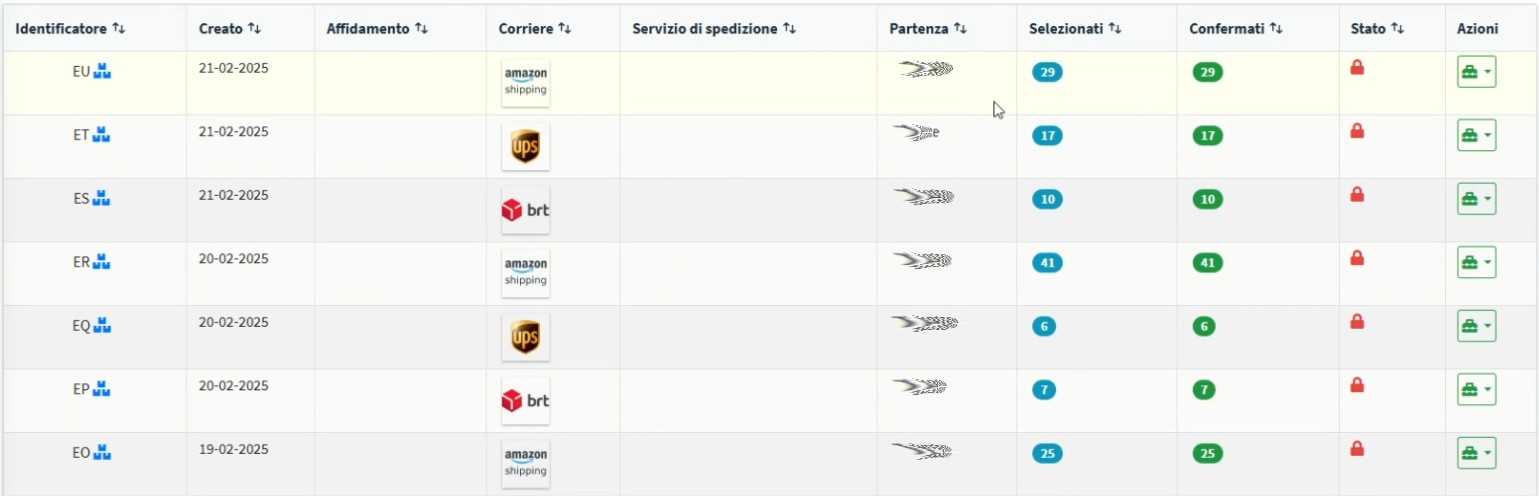
3. When selecting a status, all the manifests that the user wants to view will appear on the screen with the following information:
- Identifier: Identifies how the Shipping Log was created .
- Created: indicates the creation date of the Shipping Register .
- Entrustment: indicates the date of entrustment to the courier.
- Courier: indicates the type of courier used to whom the Shipping Register is entrusted .
- Shipping Service: Indicates the courier service topology.
- Departure: indicates the warehouse where the Shipping Register was delivered to the courier.
- Selected: indicates the shipments entered in the Shipping Register .
- Confirmed: Indicates shipments that have been confirmed to the carrier.
- Status: indicates whether the Shipping Register is still open (green padlock) or is permanently closed and entrusted to the courier (red padlock).
- Actions: in the actions menu the user can view, modify or delete the Shipping Register . Only the open ones are editable.
Manifest Creation
1. To add a shipping Log, click the Add Shipping Log button at the top right.
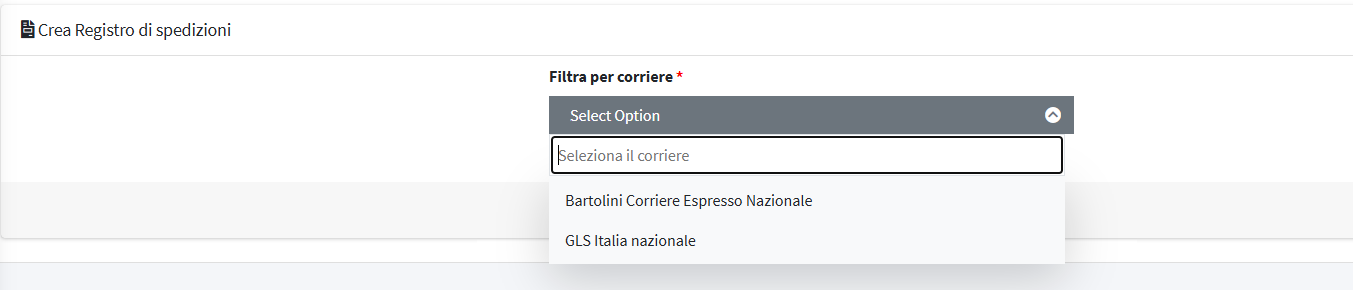
2. When you decide to create a Shipping Register, the system offers you 3 filters:
- Filter by courier: to choose the type of courier to use for the Shipping Register.
- Filter by service: to choose the courier service.
- Filter by location: to choose the departure location where the orders in confirmed status are present.
3. Once the filters have been selected, the system offers 2 creation modes:
- Create the Manifest with the shipment aggregation mode: the user must insert the specific shipments into the Shipment Register (suggested for single-package shipments).
- Create the Manifest with the containers aggregation mode: the user can associate the containers (boxes or pallets) of a multi-package shipment by selecting the packages of the shipment itself.
Creating a Shipment Aggregation Manifest
1. With this mode the system adds to the Shipping Register the shipments compatible for its creation.
2. Click the Add shipments to the document from the list of compatible ones button. 
3. All confirmed shipments that are not already in another Shipping Register will appear on the screen .
4. In the shipment list there are information tabs including:
- Reference : progressive shipping recognition
- Contents : indicates the contents of the shipment and which channel it comes from
- Shipment Status : indicates the status of the shipment which must be confirmed to create a Shipping Log

- From : indicates the warehouse or starting location
- A : indicates the recipient of the goods
- Shipping service : indicates the courier with which the shipment is carried out
- Actions : In the Actions button the user can connect or disconnect multiple shipments in the same Manifest.
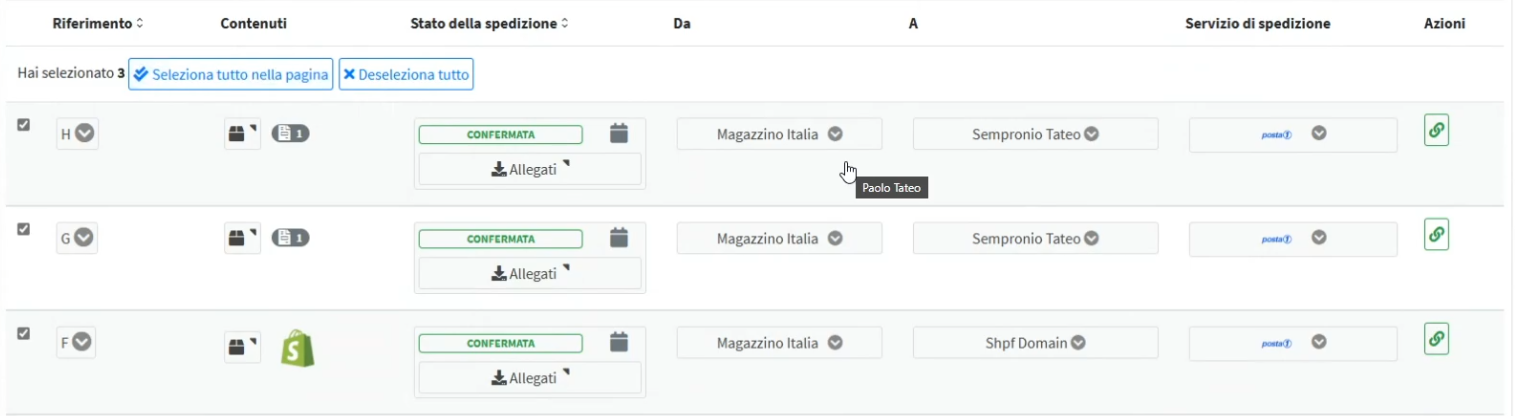
5. At the top of the list, select the shipments you want to include and click the green chain icon to link them to the Manifest.
To deselect and disconnect shipments at the bottom, click the yellow broken chain icon.
6. Once the desired shipments have been connected, returning to the Manifest list , the user sees the one just generated.

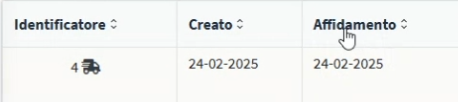
7. When the Manifest is created for Shipment Aggregation , the icon of a black van with the progressive creation number appears in the Identifier field .
8. When the Manifest is created for Container Aggregation , the icon of 3 blue packets with the progressive creation number appears in the Identifier field
The creation for Container Aggregation can be created even if the shipment is single-package. If you create a Manifest with Shipment Aggregation and you have a multi-package, you must take into account that you must select all the packages that you want to insert into the Shipping Register .
9. After creating the Manifest the functions that are available in the actions menu  (green suitcase icon) are:
- Show and Print Manifest - Generate a PDF of the Manifest .
- Edit: You have the ability to edit the Manifest .
- Delete: To delete the Manifest .
10. Click Show & Print Manifest to view the created PDF.
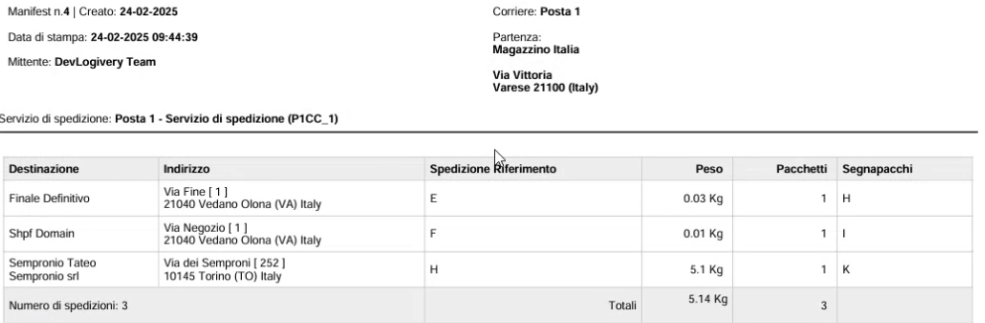
10. In the created PDF the user sees a lot of information including:
- Creation date
- Print date
- Sender
- Courier
- Departure warehouse
- Departure warehouse address
- Final destination
- Destination address
- Shipping reference
- Weight
- Packages
- Mark packages
Manifest modification
1. Select Edit from the actions menu to access the Manifest Configuration screen.
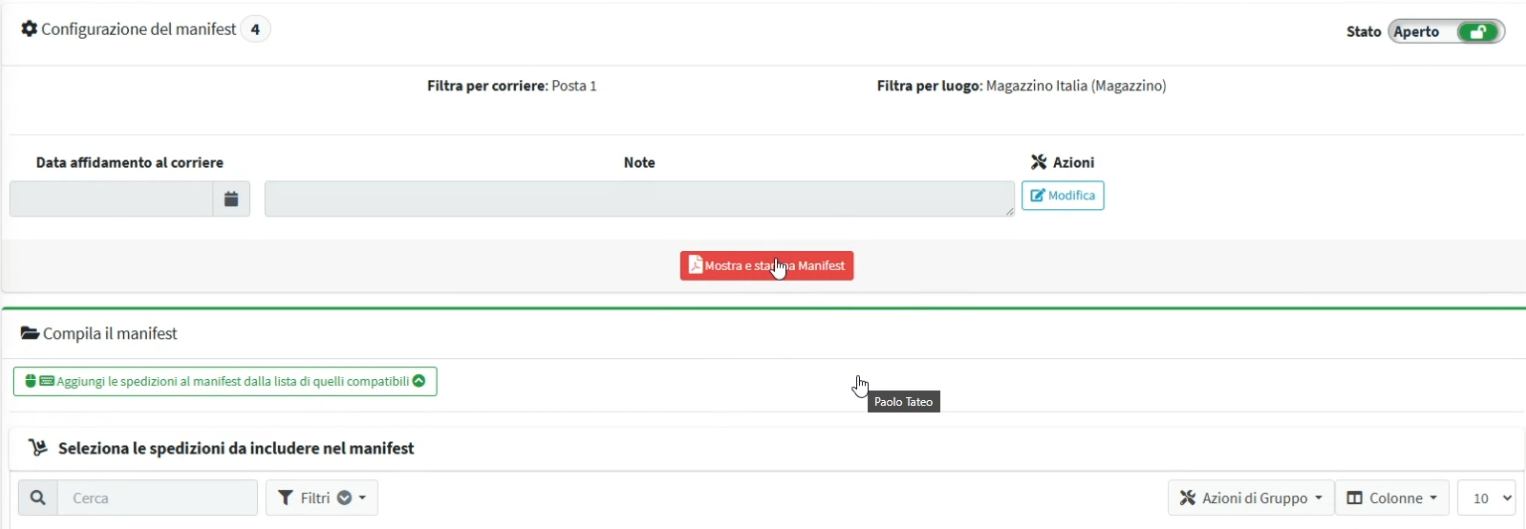
2. In the Courier Handover Date field , enter the date and time the shipment is physically handed over to the courier. When you return to the Manifest list , the Courier Handover information appears.
3. In the Notes field the user can enter information regarding the assignment of the shipments (e.g. name of the driver).
4. By clicking on the Show and Print Manifest button  the user can have the option to print or show a preview of the Manifest.
5. The user can make the Manifest Open or Closed by clicking on the Open Status button (green icon with open padlock) 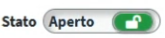 , once the Manifest has been delivered to the courier it can be closed by clicking again bringing the status to Archived
6. Archived Manifests are now viewable in the Closed list with the status marked by the red lock icon.

Create Manifest Aggregation Containers
1. In the creation menu, click on the Create manifest with containers aggregation mode button.

2. In the Cloud App, an interface similar to the one for creating shipments by aggregation appears, but with 2 ways of adding shipments:
- Add containers from list
- Add containers with scanner

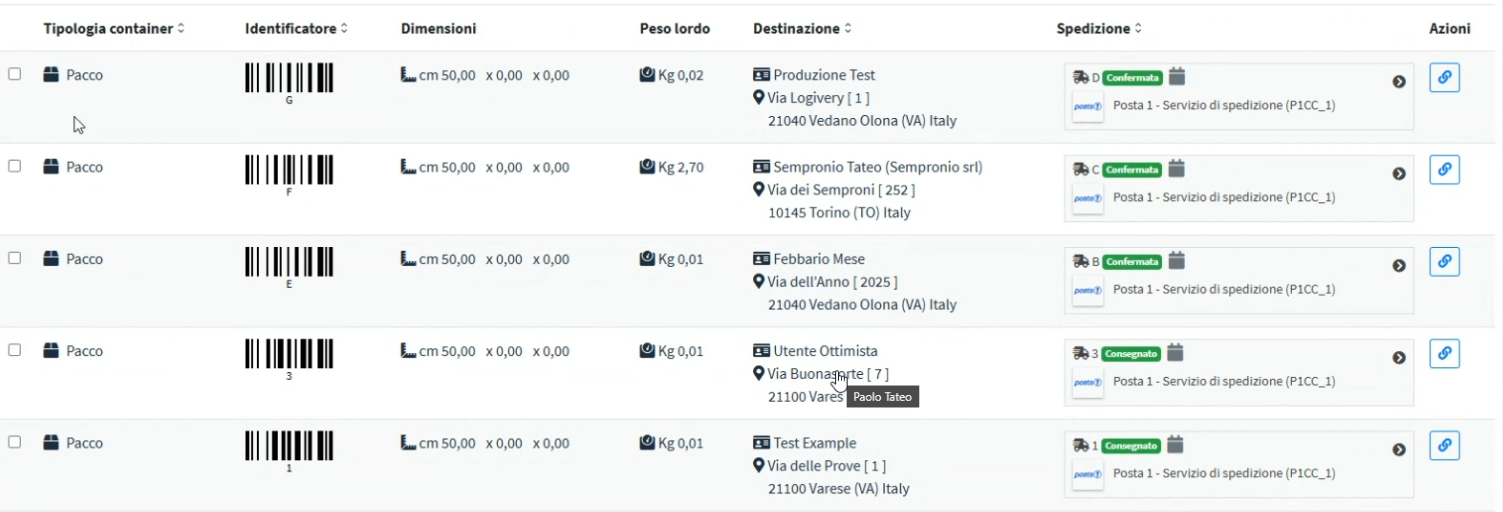
3. Clicking on Add containers from list displays a list of containers that can be assigned to the Manifest with the following information:
- Container Type: Indicates the containers that are assignable to the Manifest .
- Identifier: This is the container's identifying barcode.
- Dimensions: Indicates the dimensions of the shipment.
- Gross Weight: Indicates the weight of the shipment.
- Destination: indicates the destination of the shipment.
- Shipping: indicates the courier to whom the shipment is entrusted.
- Actions: Used to connect the shipment to the Manifest .
4. Click Add containers with scanner to open a barcode reading box.

5. Once the barcode is scanned with the reader, the system recognizes the shipment which must be added to the Manifest .
6. When choosing the scanner selection mode you can choose various information for code search:
- All : Match all possible identifiers (default)
- Identifier: internal identifier of the shipment.
- External identifier: external identifier of the shipment.
- Tracking Number: Tracking number of the shipment.

7. Once the containers are added to the Manifest they will appear, as before, in the general list  .
.