Posteminibox Exprès
Introduction
Posteminibox Exprès is a fast and economical international shipping service , offered by Poste Italiane , designed for small e-commerce shipments .
Main features:
- Intended exclusively for foreign countries
- Maximum weight: up to 1 kg
- Available in 58 countries
- Priority service with reduced delivery times
- Transparent and accessible rates
- Shipment tracking until delivery
- No signature required upon receipt
Service Configuration
1. To set up the Posteminibox Exprès service , go to the shipping services menu on the left.

2. Click on Add Shipping Service at the top right  .
.
3. Select the Posteminibox Exprès service and begin configuring the parameters.
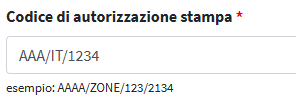
4. In the Print Authorization Code field , enter the alphanumeric code provided by Poste Italiane when you activated the service.
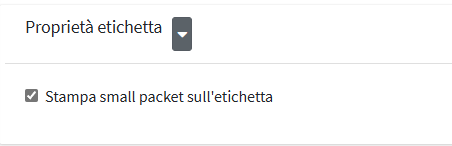
5. For packages shipped with this service, you must enable the " Print small packet on label " option by checking the box in the interface. This step ensures that the wording "Small packet" is correctly displayed on the label , an essential requirement for the correct identification and management of the shipment by postal services.
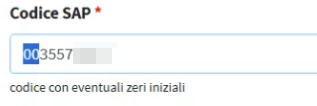
6. In the SAP Code field , you must enter the code in numeric format , including leading zeros .
This identifier is provided by Poste Italiane when the service is activated and is used to correctly associate the account within the shipping system.
7. In the Contract Account Code field , enter the product identification code provided by Poste Italiane when the service is activated.
This code is always in numeric format and is composed as follows:
- It comes from the SAP Code with the leading zeros removed
- An additional code is added , also issued by Poste, which completes the numeric string

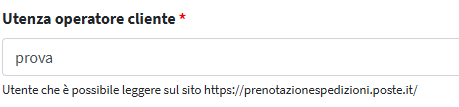
8. In the Customer Operator Username field , enter the username associated with your account, as it appears on the official Poste Italiane Shipping Reservation website.
This information is required to correctly identify the operator authorized to manage shipments.
Shipping codes
1. The Posteminibox Express service has an important feature: shipping codes are generated and manually entered into Logivery before labels are printed. This process allows for greater flexibility in managing shipments and ensures personalized tracking of shipments.
2. To enter shipping codes, select the barcode icon, visible only within the Posteminibox Exprès service .

3. Within the Shipping Code Management screen , two types of codes are available:
- Pre-assigned Codes : Barcodes issued by Poste Italiane in the form of rolls of physical labels . Users purchase them directly from Poste Italiane and use them to identify shipments.
- Self-Print Codes : A series of codes generated and printed independently by the user , only if authorized by Poste Italiane . This option allows for greater flexibility in managing volumes and customizing printouts.
Pre-assigned Codes
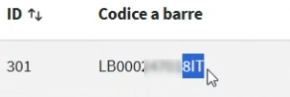
The rolls containing the codes must be registered in the system using the “Add series of pre-printed codes” button , specifying the batch, the production date, the identification number of the roll, the start code and the end code of the series (both 8 characters).
Once the codes have been uploaded to the system, you can view the status of each code directly on the screen, distinguishing between codes already used, codes still available and deleted codes.

Codes for self-printing
4. When generating and printing the label, the user must associate the barcode by applying the adhesive label from the roll of pre-printed codes in the appropriate space. Alternatively, for codes for self-printing, the barcode will be printed automatically on the label.
Routes served and prices
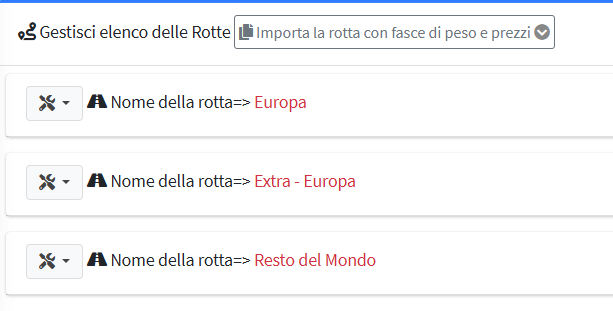
1. With the Posteminibox Exprès service, you can ship to a total of 58 countries, both within the European Community and outside Europe.
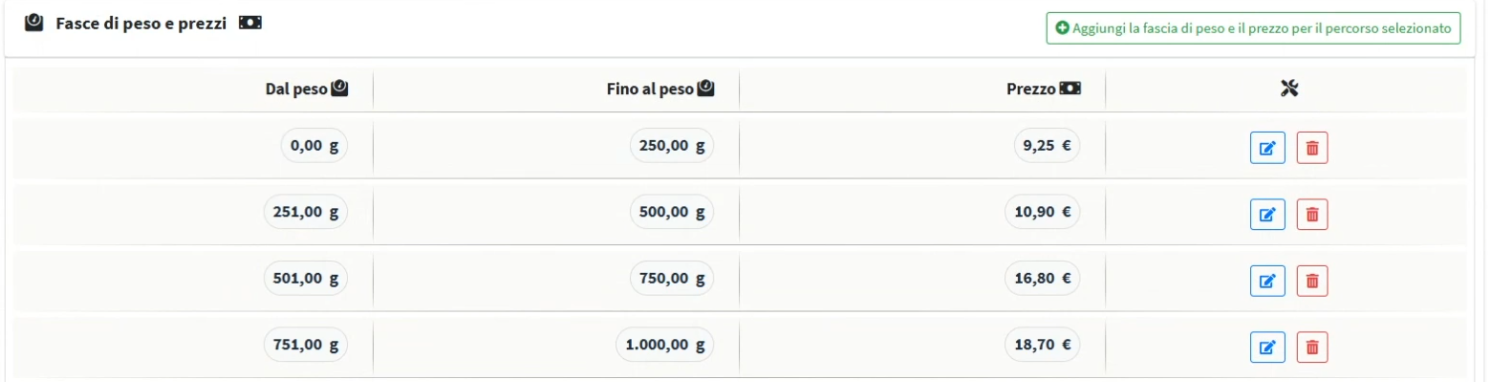
2. The prices applied to this type of shipping are particularly competitive and are divided into four bands, based on weight, up to a maximum of 1 kg.
3. Shipping costs are calculated exclusively based on the actual weight of the package and must comply with the size limits indicated by Poste Italiane.
4. For the Posteminibox Exprès service, there are no surcharges related to the weight or size of the package, nor are additional supplements applied.
Shipment Generation
1. The CN22 label contains the basic data of the shipment, including information about the sender, the recipient, and a detailed description of the contents of the goods.
2. Generating customs documents requires prior configuration of the section dedicated to customs data and declaring entities within the system.
3, The CN22 label contains the basic data of the shipment, including information about the sender, the recipient and a detailed description of the contents of the goods.
4. The Customs Invoice includes all information relating to the declaring party, together with a detailed description of the goods declared to the customs authorities.
Generating Manifests with Minibox Express
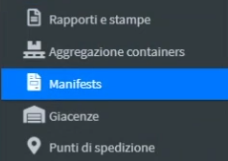
1. Click Manifest in the left menu to begin setup.
2. To add the Manifest with the Minibox Exprès service, click on the “Add Manifest” button located in the upper right corner of the screen. 
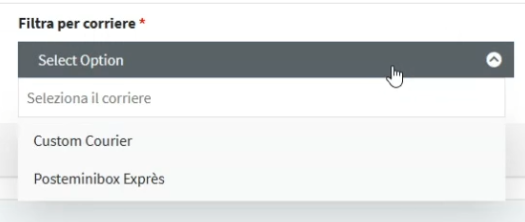
3. In the Filter by courier options , choose the Posteminibox Exprès item.
4. In the next step, select the desired service type using the “Filter by service” drop-down menu , then choose the appropriate warehouse from the “Filter by location” menu.
5. Click on Create manifest in shipment aggregation mode 
6. In the “Edit Manifest” screen, you must select the shipments you want to include in the Manifest.
7. In the “Complete the Manifest” tab , click on the “Add shipments to the Manifest from the list of compatible ones” button to select shipments from the list of those compatible with the service and conditions previously set. 
8. Once you click the button, all shipments compatible with the selected service will be displayed in the section below.
🔗 To add them to the manifest, click on the green chain icon next to each shipment.
9. To return to the document list, click “Manifest” in the left side menu: here you will find the document you just added, ready to be viewed or edited.
10. Click on the action menu on the right and then on Acceptance Documents .
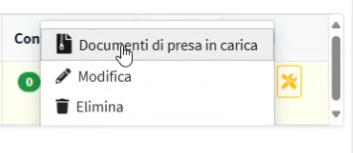
11. Now you can fill in the Acceptance Documents fields.
12. In the “Acceptance Center” section , the user must select the post office where the package will be physically delivered.
13. In the “Expected Posting Date” field, you must indicate the day on which the package is expected to be physically delivered to the courier at the selected post office.
14. In the "Booking ID" field (reserved for shipments to non-EU countries), you must enter the booking code obtained through the Poste Italiane Business portal, after authenticating with your credentials.
Request a booking ID on Poste.it
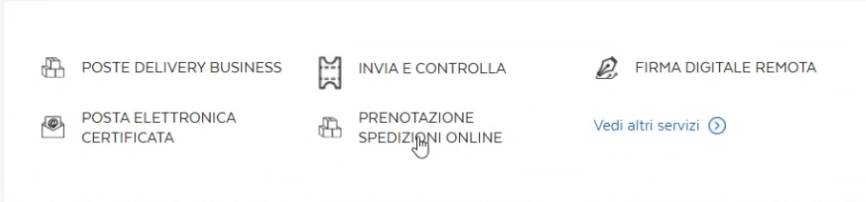
1. Once logged in to the Poste Italiane Business portal, click on the "Online shipment booking" service to access the section dedicated to generating the booking ID required for non-EU shipments.
2. On the next screen of the Poste Italiane Business portal, in the left side menu, locate the "Utilities" section and click on the "Request booking ID" item.
3. At this stage, the system requires you to specify the number of codes to generate, by entering it in the " ID Quantity " field. Once you have entered the desired value, simply click the " Request " button to start the generation .

4. Once the request is completed, the generated ID code will immediately appear in the section below on the screen.

5 After generation, copy the displayed booking ID code and paste it into the dedicated “ Booking ID for non-EU shipments ” field within the Manifest compilation procedure for shipments destined for non-EU countries .
Document Generation
1. After completing the fields in the “Documents accepted” section , click on “Save” to confirm the data entered, then on “Generate and download documents” , located at the bottom of the screen.
2. The system generates a ZIP file containing all the documentation needed to manage the shipment. This includes:
Paper documentation (PDF format)
- Acceptance list : summary of shipments to be delivered to the post office
- Summary list : list of shipments with organizational and customs details
- Pickup booking form : document to be attached for the request for collection by the courier
Electronic bill of materials
- Additional ZIP file including the electronic booking slip , useful for tracking and connection to the Poste Italiane IT system
3. After downloading the ZIP file containing the electronic booking slip , you must log in again to the Poste.it website in the section dedicated to requesting the booking ID, the same one used previously.
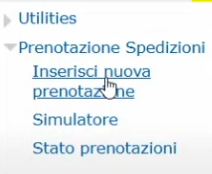
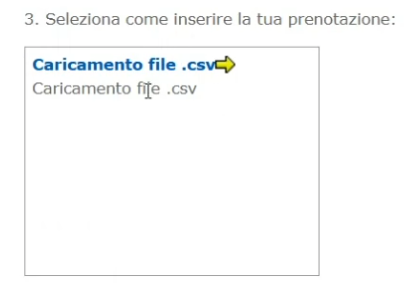
4. Go to the left side menu, select Shipping Reservation and choose the Enter new reservation option .
5. At this point, you need to select the field dedicated to uploading files and insert the ZIP file containing the electronic booking slip
6. Once the ZIP file has been successfully uploaded and the entry procedure has been completed, the user will receive an email containing the booking outcome .
The communication will indicate:
- The ID of the generated booking
- The status of the application (confirmed, under review, rejected, etc.)
- Any additional instructions to proceed with the shipment
For any assistance with your booking, please contact: Online Shipping Booking < [email protected] >