Movimenti
Configuration
1. Select the " Movements " item within the " Product Management " menu.
2. Select the type of movement through the dedicated tabs:
- Loading : to record the entry of items into the warehouse.
- Unloading : to record the release of items from the warehouse.
- Rectification : to correct inventory in case of discrepancies.
- Movement : to manage the internal movement of items.
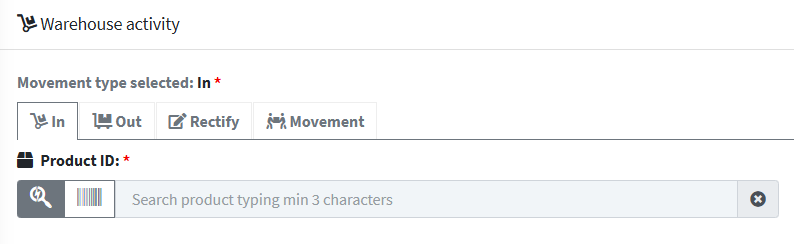
3. In the Product ID field , search for the item you want to move using the product name or code.

4. In the Warehouse drop-down menu , select the location or warehouse where you want to upload the products.

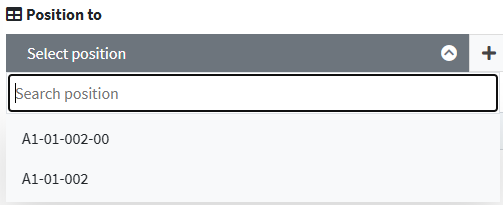
5. In the Target Location field , select the physical location within the warehouse where the product will be placed. This could be a shelf, an aisle, a pallet, or a specific area, depending on the warehouse structure.
6. If the product is managed in batches , in the Batch drop-down menu select the reference batch to associate with the load.

7. In the Quantity field , specify the number of pieces (units) you want to load into the warehouse.
A correct indication of the quantity guarantees:
- Accurate inventory updating
- Consistency between physical and management warehouse
- Traceability of operations

8. Click Save movement of type to continue 
Configuration from product sheet
1. Once you've completed creating a product, access the summary screen . From here, click the Actions menu located in the top or side corner of the interface, then select Product Inventory .
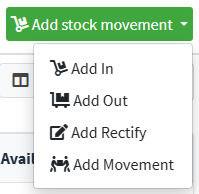
2. To enter initial quantities or update product stock, click on Add Inventory Movement in the top right corner . From the menu that opens, select Add Load to record the entry of units into the warehouse.
3. Configure the movement according to the instructions in the initial paragraph.
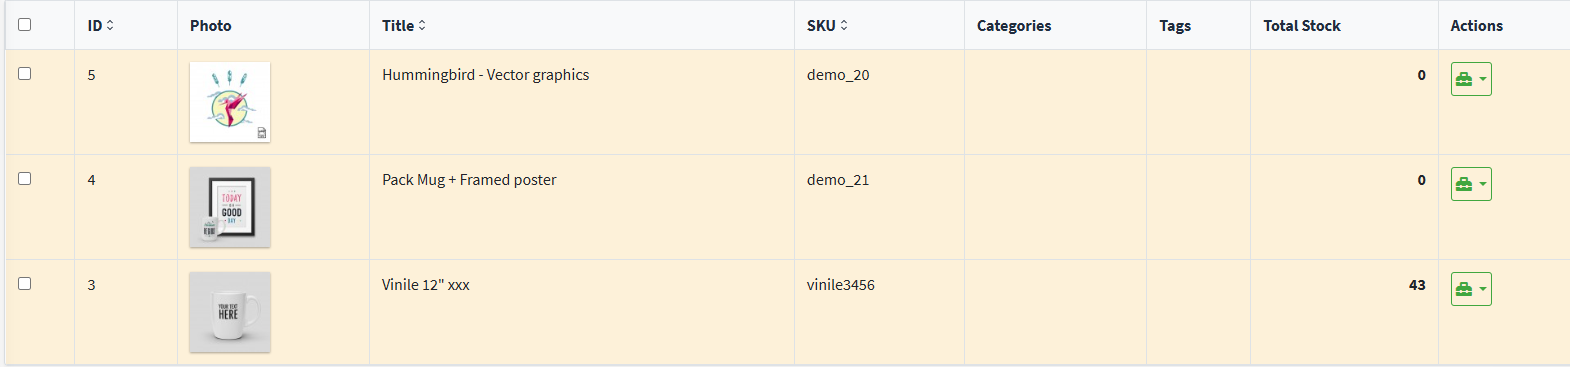
4. Once the loading movement is complete, returning to the Products tab , the stock field will be automatically updated with the quantity just entered.
In addition to the stock update, the following will also be visible in the product sheet :
- The warehouse where the product was loaded
- The target location within the warehouse (Area-Shelf-Bay-Level and Location)

5. The physical location of the products can also be consulted from the Warehouses menu, by accessing the Hierarchical management of warehouse positions function via the Actions menu .
11. Within the Hierarchical Management of Warehouse Locations section , click on View Structure to access the graphical map of product locations.
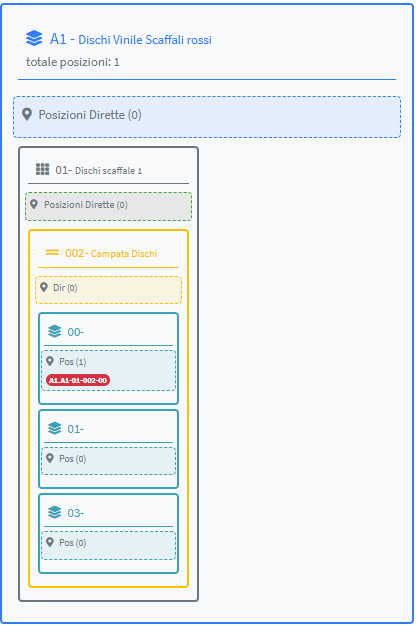
12. In the location map displayed via the View Structure function , the locations are highlighted with distinctive colors to facilitate immediate identification:
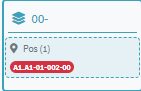
- Red : indicates positions occupied by items already uploaded
- Green : represents free positions , available for new loads
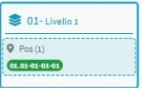
Using the Show Empty tab , you can filter the map to display only the free locations (highlighted in green), available for uploading products.
13. You can get a hierarchical view of the warehouse structure by clicking on the Hierarchical View tab at the top .
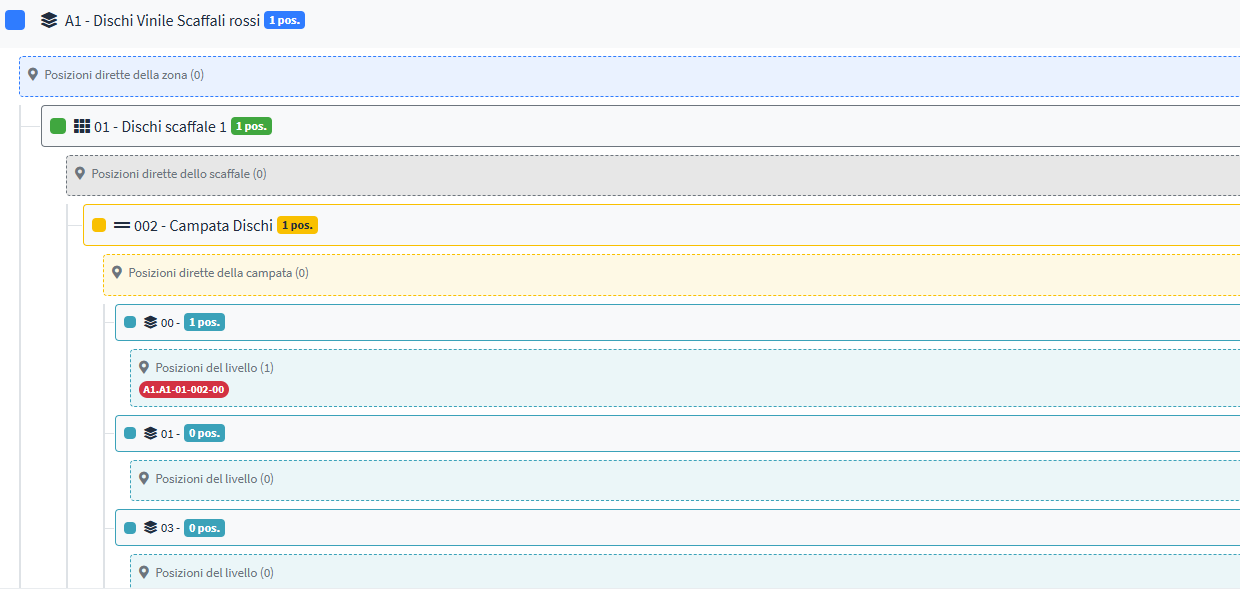
14. On the right side of the screen , a detailed summary of the products loaded into the warehouse is always visible .
