Container aggregation
With Container Aggregation the user can connect to the outgoing Manifest of the shipment, not the individual shipments but an aggregator container in order to respect the reality of the composition of a pallet.
Container configuration
1. To enter Container Aggregations select the item in the left menu under Operations menu.
2. Click Create aggregation of containers at the top right.
3. In the container configuration the user can choose the warehouse to use in the Warehouse drop-down menu .

4. In the Courier drop-down menu, select the courier available in the list.
5. In the Shipping Service field the user selects the shipping service linked to the previously selected Courier .
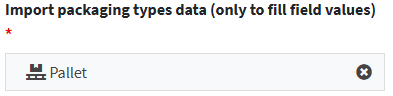
6. In the Type field the user selects the previously configured pallet type.
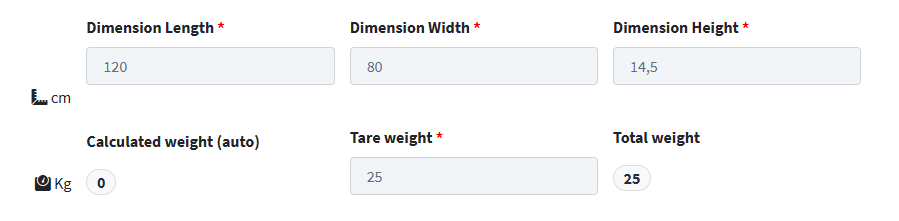
7. Once the Pallet Type is selected the system immediately displays the dimensions and weight of the pallet.
8. Click Save and Close to finish the setup.
Manage container aggregation
1. In the next step, a summary of the previous configuration is displayed at the top, which can also be modified in case of errors.

2. In the Container Filling section, click on Add container from list button to select the containers to be placed on the pallet.
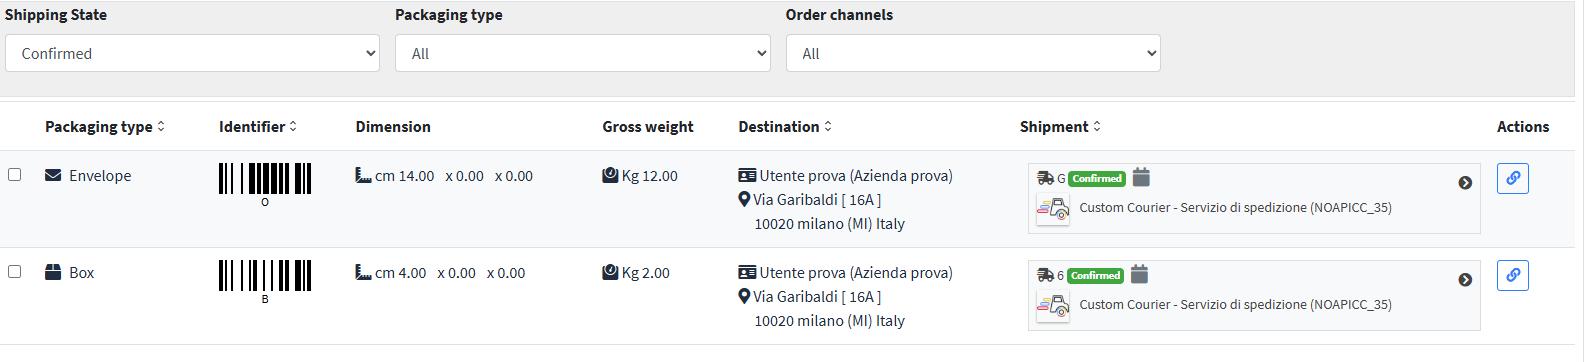
3. Below you can see the list of compatible containers that must leave for a given address with a given courier and that have not already been inserted into another pallet.
4. If the user selects Add containers with scanner (green icon with barcode) the user can use an infrared reader to scan the barcode of the container to be added to the aggregation.
5. Click in the empty Scan barcode field of the container to add to the aggregation.

6. Finally, with the barcode reader the user can "shoot" with the reader the barcodes that have been previously applied to the containers.