Shipment creation
Configuration
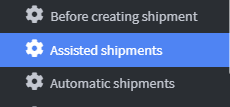
1. To access, click on the Automations menu on the left , a drop-down menu will open, then click on Assisted Shipments.
2. Click Add Assisted Shipping Event to create the event
3. Rename the activity in the Name field 
4. Click on Task button  and then on Create Shipment.
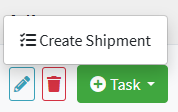
5. On the left we find the filter menu while on the right we have the Configuration parameters .
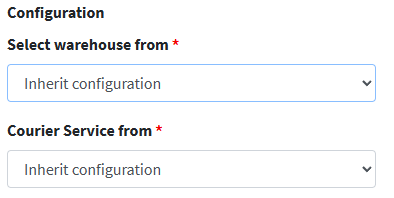
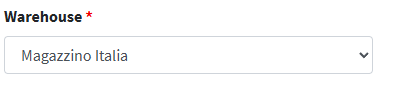
6. In the Settings menu, click the 'Select warehouse from' drop-down menu and choose one of the three available options:
- Inherit configuration – Allows you to use the default settings inherited from the system or previous activity.
- Default warehouse from settings : Automatically sets the suggested warehouse based on the 📄 Team Profile configuration
- Selected warehouse : displays a drop-down menu for manual warehouse selection.
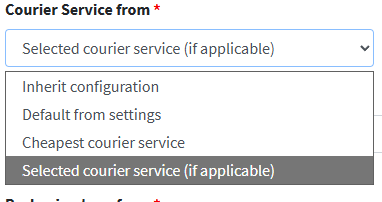
7. In the ' Shipping Service From ' menu , choose one of the four available options:
- Inherit configuration – Allows you to use the default settings inherited from the system or previous activity.
- Default from settings : Automatically sets the suggested shipping service based on your 📄 Team Profile configuration .
- Cheapest courier service : indicates the option to select the cheapest courier available for a shipment.
- Selected courier service : Displays a drop-down menu for manual courier selection.

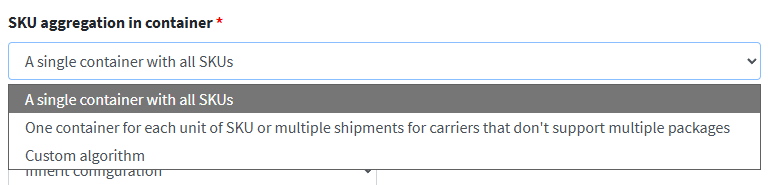
8. In the 'How to group products into shipping packages' menu , select the criteria by which products will be grouped into shipping packages.
- Aggregation of all products from the same order in a single package: products belonging to the same order are packed together in a single package, optimizing space and reducing the number of shipments.
- Generate a package for each product you ship: each product included in the order is individually packaged in its own package, useful when the items are fragile or require dedicated packaging.
- Custom algorithm: allows you to apply a custom algorithm for merging, defined based on specific business logic.
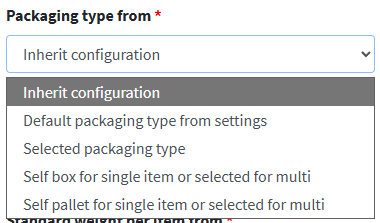
9. Use the ' Container Type From ' menu to choose the most suitable packaging format from those available (e.g. box, padded envelope, pallet), based on the product characteristics and the intended shipping method.
- Inherit configuration – Allows you to use the default settings inherited from the system or previous activity.
- Default Container Type from Settings : Automatically sets the suggested container based on your 📄 Team Profile configuration .
- Selected container type : Shows a drop-down menu for manually selecting the container type
- Self box for single item or selected for multi : This mode indicates that each individual product will be packed in a dedicated and predefined box or allows you to manually select a suitable container for multiple products to be shipped together.
- Self pallet for single item or select for multi: This mode allows you to use a dedicated pallet for a single product or allows you to manually select a pallet for multiple items to be shipped together.
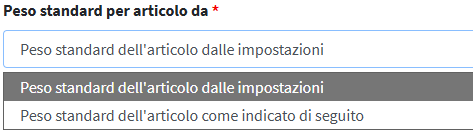
10. The "Standard weight for item from" menu is used to set a reference value that will be used as the basic unit weight for each item in the packaging or shipping system.
Default Standard Weight from Settings : Automatically sets the suggested weight based on your 📄 Team Profile configuration .
Standard weight of the item with the following indication: shows a drop-down menu for manual selection of the weight 
8. Click Save and Close to complete the setup.