Warehouse assignment
Introduction
The Cloud App allows the management of multiple warehouses, located in different geographical areas (e.g. one in Italy and one abroad), through the dedicated Warehouses section .
Within this section, the user can define order assignment rules based on the geographic origin of the customer or the order itself.
Assign warehouse
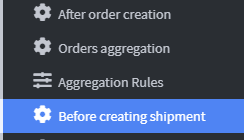
1. To access the section, click on Before creating shipment in the left-hand menu under the Automations heading .
2. Once you have accessed the Before creating shipment section , select the Add event Before creating shipment item to begin configuring a new event. 
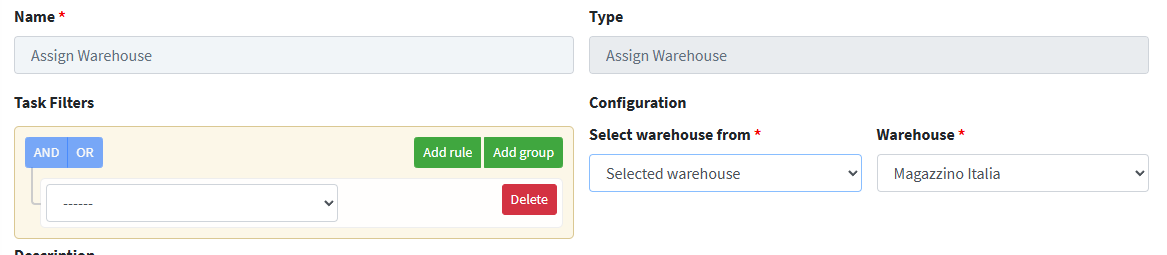
3. Enter the new event Name in the dedicated field on the configuration tab.

and then click Save and Close to complete.
4. Click Task to open the drop-down menu.
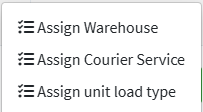
5. Select the Assign Warehouse option from the drop-down menu.
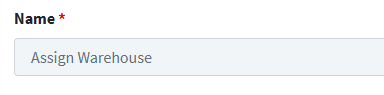
6. Set a Name for the warehouse assignment in the top tab.
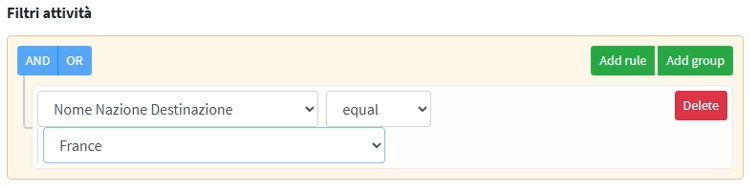
7. At the bottom of the page, you can create a dedicated activity filter for configuring warehouse parameters.
This filter allows you to define specific criteria for order assignment, such as:
- Reference warehouse
- Destination geographical area
- Shipping type
- Order values, size and weight.
Once the parameters are set, the filter can be used to automate order management based on company rules.
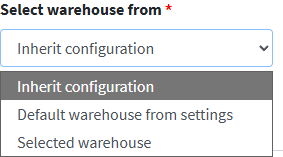
8. After configuring the activity filter, access the " Select Warehouse From" drop-down menu and choose one of the three available options based on your operational needs and the intended assignment logic. This choice will determine the warehouse from which shipments will be sent for orders matching the set criteria.
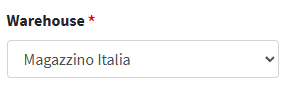
9. If the “Selected Warehouse” option is selected, the “Warehouse” field will appear in the side panel, from which you can choose an option from those previously configured in the guide. 📄 Warehouses .
10. Click the Save & Close button to complete the setup.
11. After completing the setup of the French warehouse activity , you need to repeat the process for the Italian warehouse.
12. Once you return to the main menu of the application, you will be able to view the Activity List section where you will find all the activities created, each with their respective warehouse selection configurations , as defined in the previous steps.

As with the previously configured activities, in this case too it is always possible to:
- Change the parameters associated with the activity,
- Delete the activity, if no longer needed,
