Order normalization
Types of Normalization
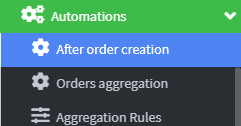
1. Click Post Order Creation to enter the automation configuration page.
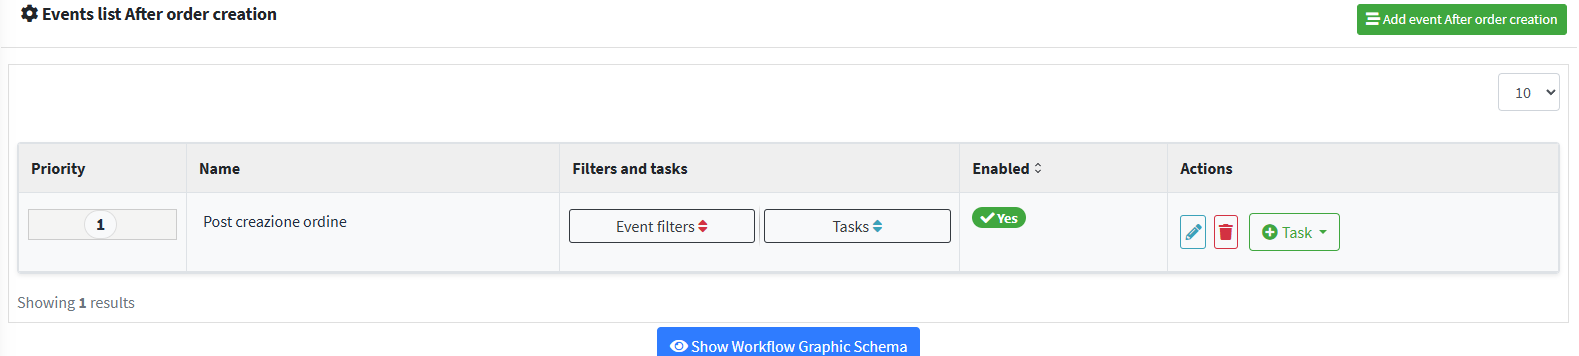
2. When a new order is entered into the Cloud App, thanks to the connection via Connector, it is possible to start and manage the related operational activities by clicking on the specific Task button
3. A drop-down menu displays the list of tasks automatically generated by the Wizard, which can then be modified according to operational needs.

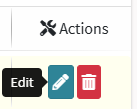
4. To make changes, click the "Edit" button located under the " Actions " menu (blue pencil icon).
5. On the right side of the screen, in the " Configuration " section , you'll find the "Detect house number from address " option. Clicking it opens a drop-down menu that allows you to enable or disable the automatic house number detection feature from the address data entered.
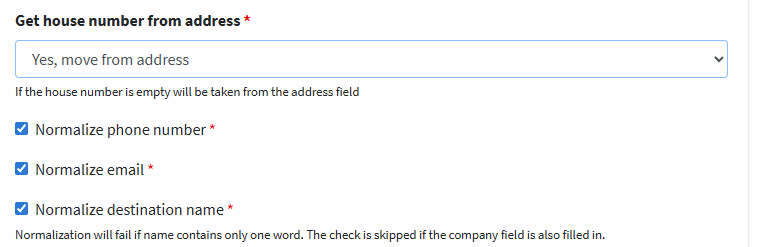
6. There are 3 selectable items:
- No : Select this option if the courier does not require a separate house number. In this case, no automatic detection will be performed.
- Yes, copy from the address : the system extracts the house number directly from the address field , copying it directly into the dedicated section.
- Yes, retrieved from address : activates an advanced search mechanism in the text of the entire address to locate and isolate the house number , useful in case of unstructured formats.
7. The system allows you to activate the automatic normalization of additional fields by selecting the appropriate items:
- Normalize phone number :
The phone number is analyzed to verify its formal correctness. If the international prefix is missing , the system automatically adds it based on the shipment's destination country . - Normalize email address :
The system checks the email address format , correcting any errors (e.g. missing periods, invalid characters, incorrect suffixes). - Normalize recipient name : The recipient name
is cleaned and standardized , correcting common errors (spacing, upper/lower case letters, first/last name inversion).
If the system detects only one word in the recipient name field , the normalization process fails .
In these cases, the user must manually intervene to correct the data, entering a full name (e.g., first and last name) for the validation to pass correctly.

If the system detects only one word in the recipient name field , the normalization process fails .
In these cases, the user must manually intervene to correct the data, entering a full name (e.g., first and last name) for the validation to pass correctly.
8. In the drop-down menu on the left you can set the filters present in all Automations .
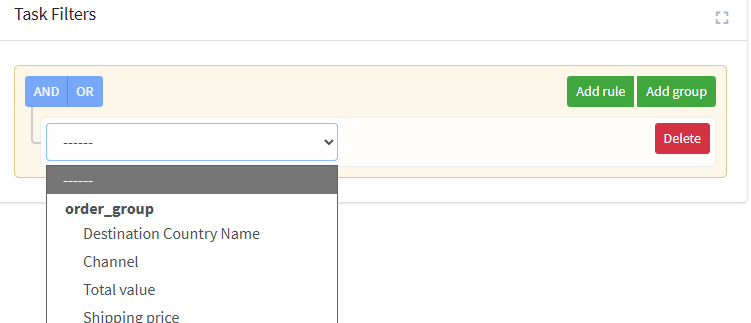
9. Example of a filter based on the 'Destination Country Name' field: If the value matches 'Italy' (operator: equal), the system automatically applies the configured filter.

10. The user can also set multiple filters at the same time, creating more detailed automations.
11- Once you have set the Filters and Normalizations and set the name, click on Save and close to conclude the creation.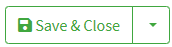
12. Returning to the main page, the user can view the list of created Normalizations in the Activity List .

13. If you want to have a Preview of the values applied for the individual Normalizations click on the button 