Warehouse
Introduction
The Cloud App provides a dedicated function for creating and managing warehouse records , a key element for optimizing company logistics processes. The intuitive and modular user interface allows for the insertion, modification, and customization of logistics units using configurable parameters.
Configuration
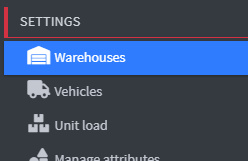
1. To access the section, click on Warehouses in the left-hand menu under the Configurations heading .
List of Warehouses
1. This section displays a list of all warehouses created by the user.
2. On the summary page, the user can consult the following fields:
- Warehouse Name
- Company Name
- Company Address
- Company street number
- Company city
- Company postcode
- Company country

Warehouse Creation
1. To add a Warehouse click on Add Warehouse 
2. In this section, the user is required to fill in all the fields relating to the identification of the warehouse to be registered in the system.
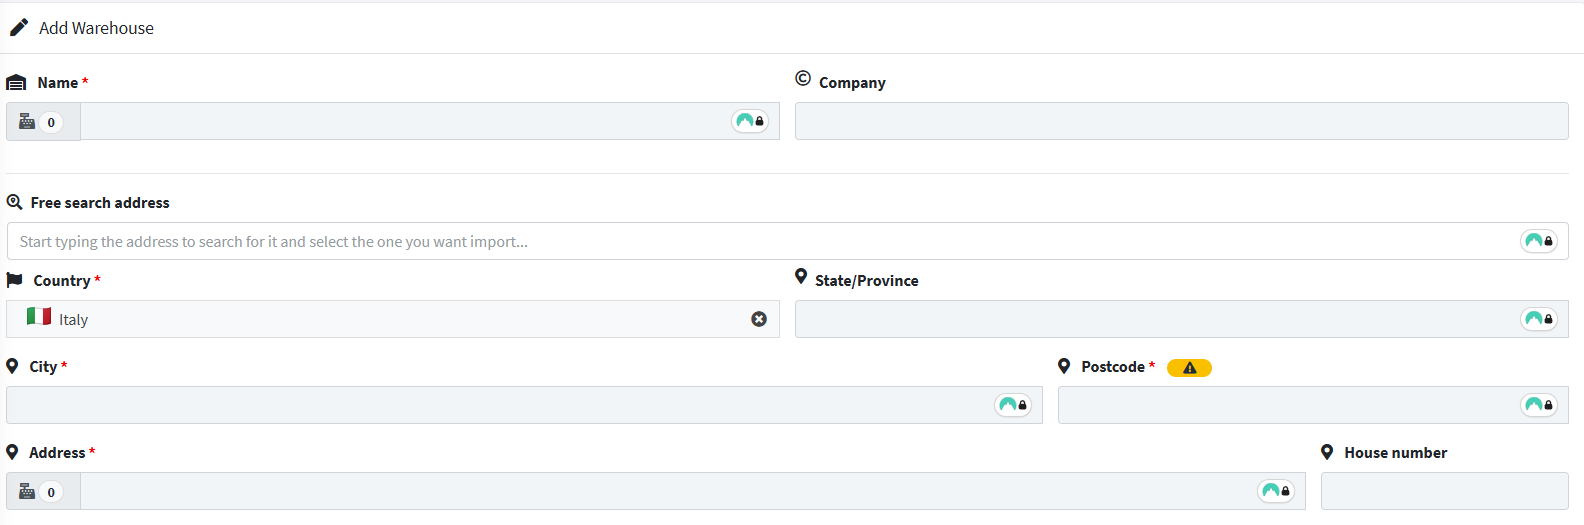
- Name: Enter the warehouse's identifying name. This value will be used as a reference in the systems and shown on shipping labels.
- Company: Specify the name of the company responsible for managing the warehouse.
- Country: Select your country from the drop-down menu containing the updated list of available options.
- Province: Enter the province where the warehouse is located.
- City: Enter the city corresponding to the warehouse location.
- Postal Code: Fill in the postal code of the location where the warehouse is located.
- Address: Enter the complete address, including street name and other useful location information.
- House Number: Enter the house number of the warehouse building.
- Email: Please enter a valid email address, used for operational communications and warehouse notifications.
- Telephone: Enter a telephone number for direct contact.
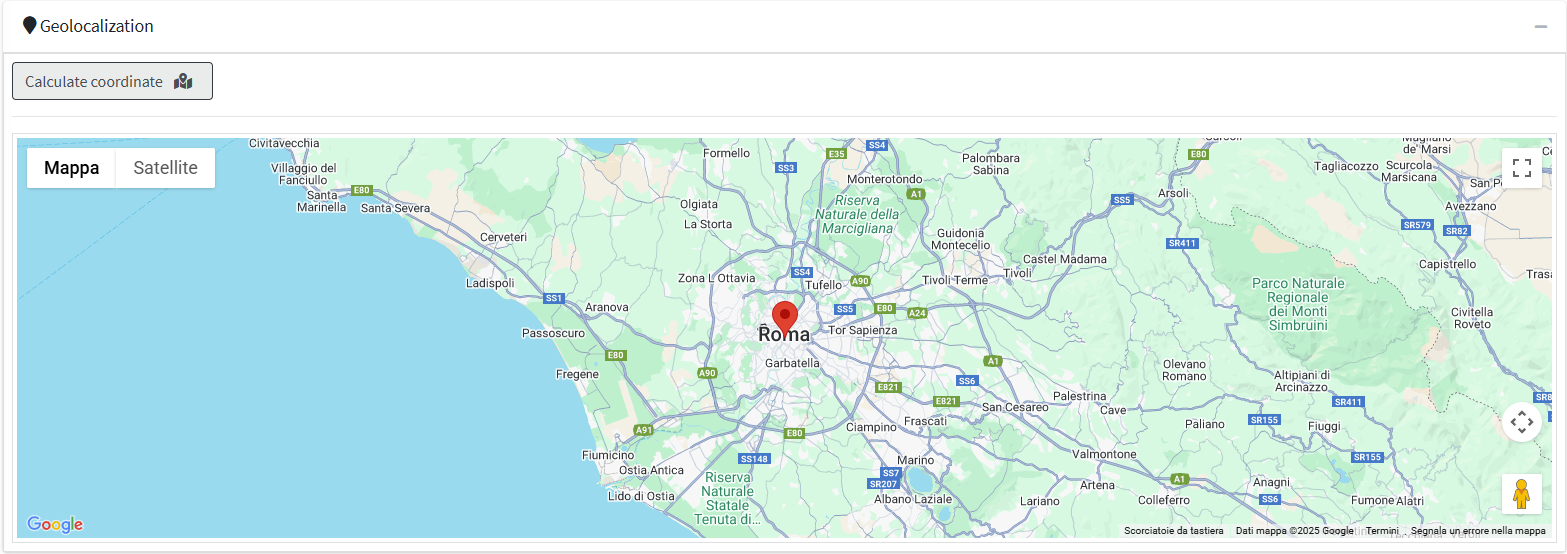
With the Geolocalizzation option, you can display the warehouse address on the map by clicking the 'Calculate Coordinate' button.
3. At the bottom there is also a section for entering notes regarding the warehouse.

Quick shipment creation
1. From the main screen containing the list of already registered warehouses, the Quick Shipment Creation function is available : to use it, simply select the dedicated field.
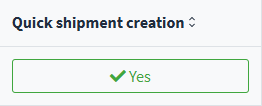
2. After activating the function, the system enables the mode dedicated to the rapid generation of shipments directly from the warehouse.
Creating locations from the Warehouses menu
1. Click on “Warehouses” in the left menu, under “Configurations”.
2. Click on the icon for managing warehouse locations. 
3. Select “Add Warehouse Position” in the top right corner of the screen.
4. You can create a new position using the simple generator available in the Free Text menu , or build a more complex structure by accessing the Hierarchy menu , as illustrated above.
5. If you choose “Free Text” mode, fill in the “Position” field with the desired name and use the “Notes” field to indicate the contents of the articles present in that specific position.

6. To complete the entry, click on Save all and close 
7. The final summary will display all the warehouse locations created, complete with the information entered.

8. You can also create new positions by accessing the “ Hierarchical position management ” menu, which allows you to view and organize the warehouse structure in more detail. 
10. Once you enter the menu, you will see a counter of the positions created under the “Positions” tab.

11. To start creating a new location, click the Create button in the Actions menu .
12. The system will display the menu dedicated to creating positions again on the screen .
Hierarchical warehouse creation
To correctly configure a hierarchical warehouse, it is necessary to proceed with the sequential creation of zones, shelves, bays and levels, based on the specific logistical needs of the user and the company organization.
1. To create new warehouse locations, access the “Warehouses” menu within the “Configurations” section.
2. Click on the “Create Hierarchical Positions” icon in the “Actions” menu to start the configuration.
3. Once you enter the menu, click on “ Create New ” to add a new Zone. 
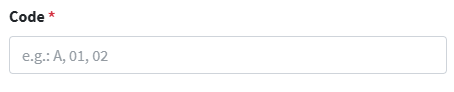
4. In the Zone creation menu, you can assign an identification code by filling in the “ Code ” field.
5. Fill in the “Name” field with a clear description that identifies the Zone.

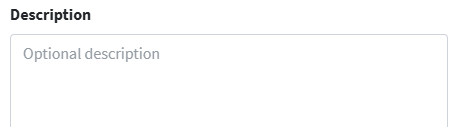
6. The “Description” field may contain an additional description of the Zone, which is useful but not mandatory.
7. Click on the “ Create ” button to complete the creation process. 
8. Once you return to the main menu , the newly created area will be visible , along with the Actions menu , which includes the following features:
- Navigation : Allows you to explore the hierarchical zones you create, allowing you to move from zones to levels.

- Edit parameters : allows you to update the Zone settings and characteristics.

- Location Creation : Adds new locations within the Zone for more precise management.

- Delete Zone - Permanently removes the Zone from the system.

9. Click the “Navigate” icon in the Actions menu to navigate to the selected Zone and add a shelf location.
10. Once you enter the menu, click on “ Create New ” to add a new shelf.
11. Fill in the “ Code ” field with a unique value that represents the shelf within the Zone.
12. Fill in the “Name” field with a clear description that identifies the shelf.
13. The “Description” field can contain an additional description of the shelf, which is useful but not mandatory.
14. Click on the “ Create ” button to complete the creation process. 
15. Once back in the Hierarchical Position menu,  choose the previously configured areas, shelves, bays and levels from the drop-down menus.
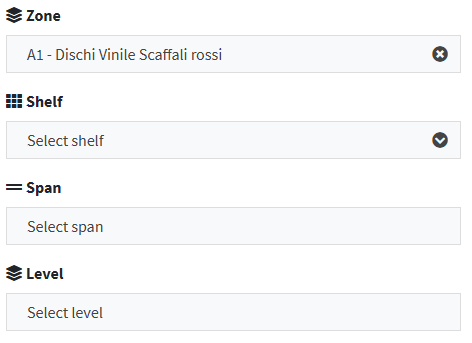
16. In the “Hierarchical Position” field, the concatenated composition will now be visible in the form of an identification code.
