Team profile
Introduction
The "Team Profile" section within the Cloud App allows you to effectively manage the information and permissions associated with each team member.
Entering personal data
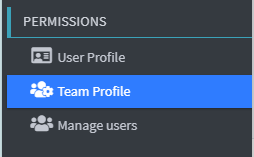
1. In the left menu, under the Permissions section, click Team Profile.
2. Once you enter the page, a summary of the data you will be entering will be displayed on the screen.
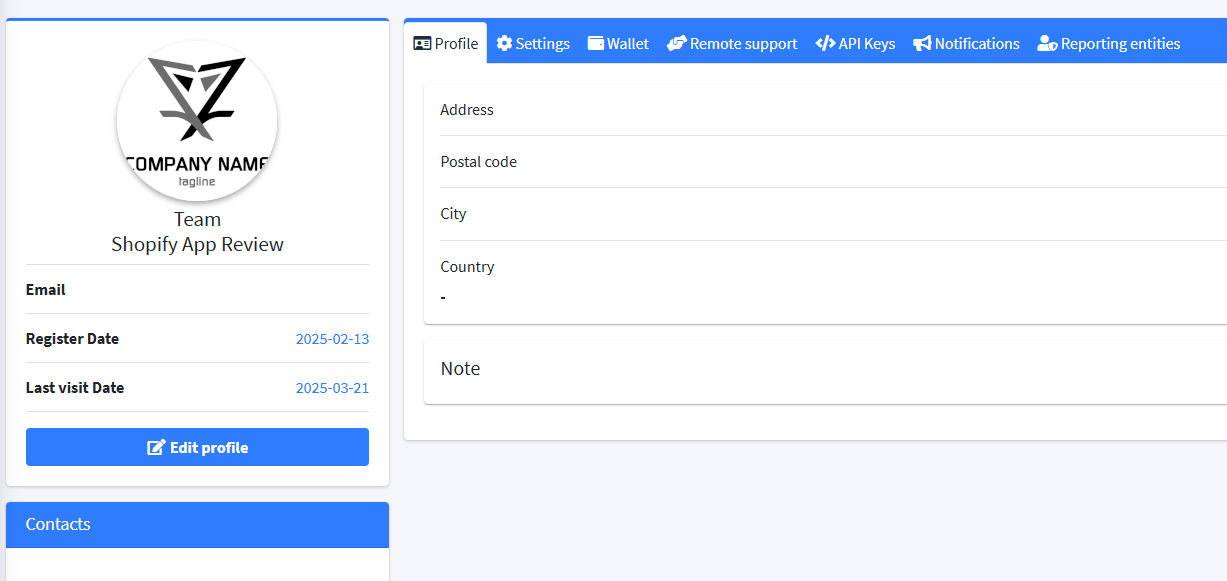
3. Click on Edit Profile to enter the data entry page 
Profile
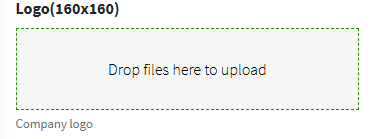
1. To insert an image, drag it into the appropriate field.
2. Enter the following contact information for each team member:
- WhatsApp Contact
- Skype Contact
- E-mail address
- Landline telephone number
- Mobile phone number
3. On the right side the user must enter the following data:
- Address
- Postal code
- City
- Village
4. Click Save Profile to save your data 
Settings
1. Inside the Settings page there is a side menu on the right which collects all the configurable fields .
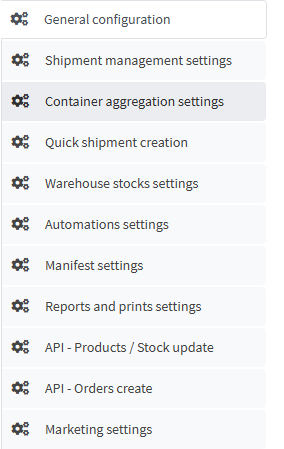
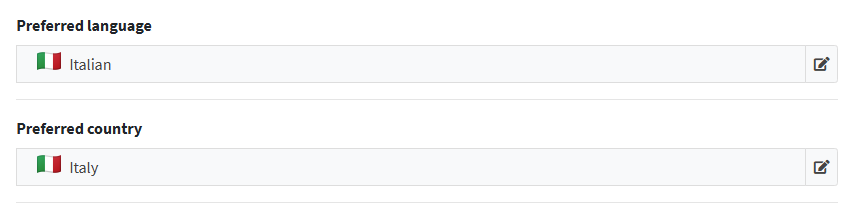
2. Within the General Configuration section , using the appropriate drop-down menus , you can select the language and preferred country of the system.
These settings affect the user interface and content localization within the Cloud App.
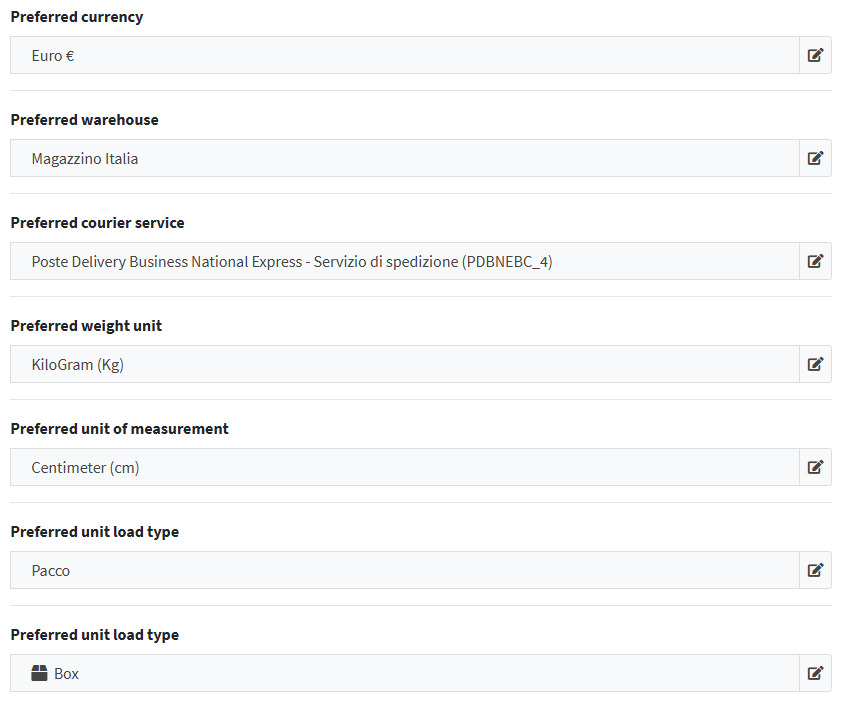
3. In the Shipping Management Settings menu , you need to fill in the following fields to correctly configure the shipping system:
- Default Currency: Select the primary currency used for transactions from the drop-down menu.
- Default Warehouse: Indicate the main warehouse from which shipments are managed.
- Default shipping service: Choose the default carrier or logistics service. It will be automatically offered when creating new shipments.
- Default weight unit: Set the weight unit (e.g. kilograms, pounds) used in product management and shipping labels.
- Default size measurement unit: Select the unit for measuring the dimensions (e.g. centimeters, inches) of products and packages .
- Preferred packaging type: Specify the packaging format used most frequently.
- Default Packaging Type: define the packaging categories available in the system.
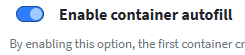
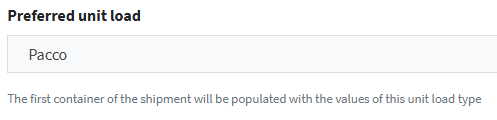
4. In the Container Aggregation Setup menu , you need to select the default packaging type to use for automatic creation of aggregation in containers.


5. The Quick Shipment Creation function , accessible from the relevant menu, allows the user to manually generate a shipment , without going through order management.
This mode is useful in the following cases:
- Urgent or extraordinary shipments not linked to a registered order.
- Promotional mailings, samples, or documents.
- Situations where you want to customize the shipment in detail, before associating it with a standard flow.
When filling out the form, the user can enter all the necessary information (sender, recipient, contents, packaging, transport method, etc.) directly on the dedicated screen.
6. To enable container auto-compilation, click the “Enable container auto-compilation” button in the interface.
7. In the drop-down menu, choose the desired Packaging Type to use for shipping.
8. Assign a default Title. This title will automatically be assigned to articles created manually or during quick operations, making it easier to identify and manage content.

9. Fill in the dedicated field by entering the default SKU (Shipping Code) to associate with the item destined for the container. This code will be used as a standard identifier to facilitate automatic and manual shipping operations.

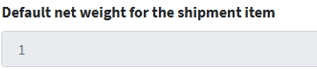
10. In the “Default net weight for shipment item” field , specify the net weight of the individual product included in the shipment.
11. In the Default Quantity per Container Shipment Item field , enter the quantity of products to ship.

When the message appears ( Warning: the value is not saved. The displayed value is the default value of the setting, which is used in some automations ), you must enter the menu using the icon  (black pencil) and confirm your choice. When the warning message appears: “Warning: the value is not saved. The displayed value is the default value of the setting, which is used in some automations.”
you need to access the edit menu via the black pencil icon ✏️, located next to the relevant field.
Once you enter the edit screen, explicitly confirm your choice to save the desired value and prevent the system from automatically using the default value.
12. In the Default Unit Value for Container Shipment Item field , enter the market value of the individual product you are shipping.

See the 📄 Manual Shipment Creation guide to complete the setup.
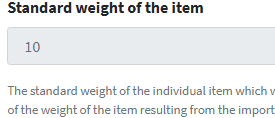
13. The Standard Item Weight item , which the user sets in the Settings menu, plays a fundamental role: it serves as a reference value whenever the actual weight of one or more items in a shipment is missing.
14. In the Manifest Settings menu you can decide to hide the value of the goods contained in the shipment by hiding the insured value and the cash on delivery.

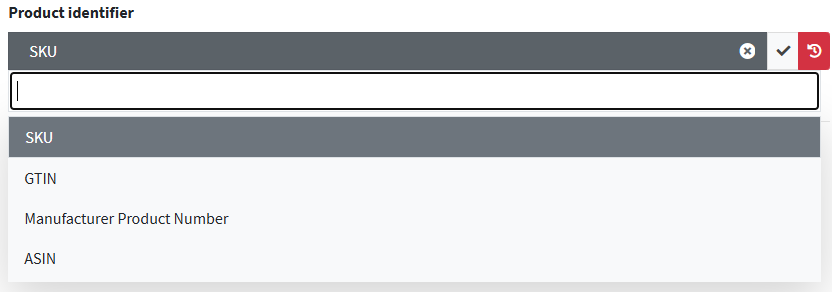
15. In the API - Product Update / Stock menu , you determine which variable is used as the unique product identifier when creating products via the Product Creation API.
16. In the Order Creations menu , you establish which Order ID will be used as the unique key for each transaction.

If you activate the “Create products during import” option , the system is able to automatically acquire information from the sales channel, including:
- Product name, description and code
- SKU, quantity and price
- Product image , if provided in the data stream
This information will be used to:
- Populate the product sheet in the internal catalog
- Display the image directly in the order list , thus facilitating management, picking and visual control

17. In the Marketing Settings menu , the user determines whether the Tracking page address should match the operational address used by the operators or whether it should be a custom URL .
