Transactional emails
Sending server
The SMTP (Simple Mail Transfer Protocol) server is the key element of the email forwarding system. It acts as the "digital postman" that receives emails from the sending client or system and routes them to the recipient's server.
Configuration
1. To access the section, click on Sending Server in the left-hand menu under the Configuration/Manage Emails heading .
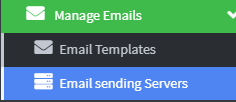
2. To view the section dedicated to the SMTP server, navigate to the side menu and select the Configuration item, then access the Sending Server submenu and click on Add Sending Server . 
3. In the field called "Name" , you need to enter an identifying label that allows you to uniquely recognize the email configuration within the system

4. In the "Type" field, you can select the desired sending method for your email, choosing from the various options available in the drop-down menu. Each option corresponds to a type of SMTP service or API that can be used for message transmission.
Selectable Options
- SMTP
Allows you to configure a proprietary SMTP server , useful in custom or internal environments.
It requires entering the connection, authentication, and security information provided by the provider. - Amazon SES API: Allows integration with the Amazon SES (Simple Email Service)
email sending service . Particularly suitable for sending bulk messages such as newsletters, order notifications, and status updates. It relies on API key authentication and can offer detailed tracking and high deliverability. - Gmail SMTP
Allows you to use Google Gmail's SMTP server for message transmission.
It's suitable for senders who have a Gmail account and need quick setup.

5. Click Save and Continue to continue
6. In the "From Name" field , specify the name the recipient will see as the sender of the received email. This information does not relate to the technical email address, but rather represents the custom label associated with the sender.

7. In the "From Email" field, enter the actual email address from which the message will be sent. This is the technical sender visible to the recipient and is essential for identifying the message in email clients.
This value will be displayed to the recipient as the source of the email communication.

8. In the From Domain field, you must specify the sending domain to be used for transmitting email messages.
The “From Domain” field is used to identify the domain from which email messages will be sent , and is a crucial component in configuring professional sending systems (e.g. SMTP servers, email marketing platforms, or corporate notification systems).

9. The "Reply to Email" field allows you to specify an alternative email address to which recipients' replies should be delivered, different from the one used to send the message . This is particularly useful in contexts where the technical sender is managed by automated systems or third parties.

10. The “SMTP Host” field identifies the address of the SMTP server through which email messages are transmitted. In practice, it represents the gateway that allows the sending system (such as an application or email client) to correctly connect to the email service .

11. In the "Username" field, enter the username associated with the email account used for sending via SMTP server. This is usually the full email address (e.g., [email protected] ).

12. In the "Password" field , enter the password associated with the email address configured as the sender . This value is essential for authenticating the connection with the SMTP server , ensuring that only authorized users can send messages.

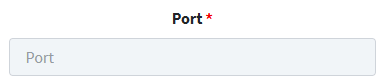
13. The "Port" field identifies the communication channel number used by the SMTP server to manage the sending (and sometimes receiving) of emails between the client and server. It is a fundamental technical parameter for establishing the correct connection type , which can be secure (encrypted) or unsecured.
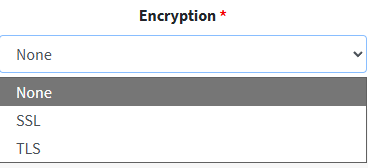
13. In the "Encryption" drop-down menu , you can select the security protocol to associate with the email connection when sending. The choice you make directly affects the protection of transmitted data and the authentication between the client and SMTP server.
SSL – Secure Sockets Layer.
Selecting this option causes the system to establish an encrypted connection to the SMTP server using the SSL protocol. While still supported by some providers, it is considered obsolete and not recommended for new systems.
- Commonly associated port: 465
- Protection level: medium
- Only shown if the provider does not support TLS
TLS – Transport Layer Security
An advanced and updated protocol designed to ensure the confidentiality, authenticity, and integrity of data exchanged during email communication. It is the current recommended standard for secure connections.
- Commonly associated port: 587
- Protection level: high
- Compatible with most modern SMTP servers.
14. Click Validate Configuration to complete the setup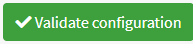
Short
1. The Cloud App is integrated with Brevo , an advanced platform for digital marketing and corporate communications management.
Thanks to this integration, it is possible to:
- Create and send personalized marketing emails
- Manage contacts and segment them effectively
- Automate campaigns based on specific events (e.g. purchases, signups)
- Design professional landing pages and websites
- Sell products online and track sales performance
- Analyze detailed campaign data and reports to optimize results
Email Templates
In this section, the user can create and customize email templates associated with specific system-generated Events .
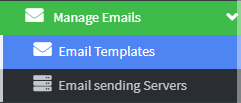
1. Click Email Templates in the left menu under Settings.
2. Once you enter the creation page, click on Add email template at the top left.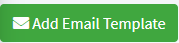
3. In the Event Name drop-down menu , select the type of event for which the system will automatically send an email.
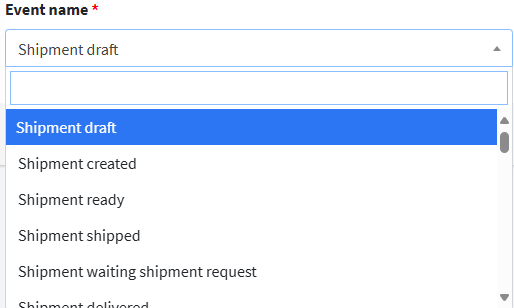
4. In the Label Template field, describe the event you chose to send the email to.

5. Click Save and Continue 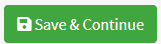
6. Once the configuration is complete and the parameters are saved, the system automatically checks the suitability of the sending options associated with the selected events.
If incorrect or incomplete settings are detected, the following warning is displayed:
"The sending options are invalid. Change the settings, otherwise no emails can be sent."

7. Click on Sending Options at the top.
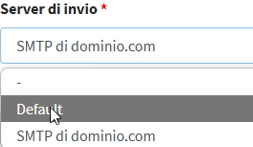
8. In the "Sending Options" panel , it is mandatory to select an SMTP server previously configured in the system. This parameter is essential to allow the email sending mechanism to use a valid and authenticated channel.
The Sending Server field must be filled with a valid server, for example SMTP for domain.com
9. In the "Send Email to" drop-down menu , you can define the recipients of the automatic communication generated by the system in response to specific events.
The selectable options are as follows:
- Departure
By selecting this option, the communication will be sent exclusively to the point of departure of the shipment (sender). - Destination
The communication will be sent exclusively to the destination point of the shipment (recipient). - Both departure and destination
The communication will be sent to both the sender and the recipient. - Additional recipients only
The communication will be sent only to the email addresses manually entered as additional recipients.
10. In the Additional Recipients field , enter the email address of the recipient, or any additional recipients.

11. Click Save to return to the previous menu
12. Click the Enabled button to activate email sending.
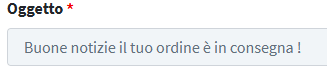
13. In the "Subject" field , enter a descriptive and concise text describing the content or purpose of the message. This field appears to the recipient as the email header and provides a preview of the content.
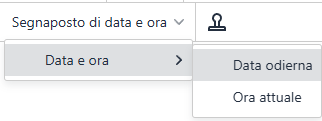
14. If you want to insert further information in the subject, you can use two drop-down menus with various options.

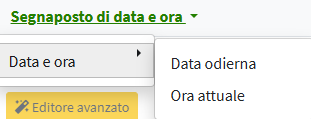
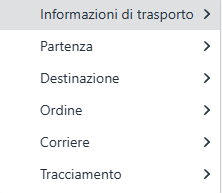
15. In the Shipping menu we can add these references:
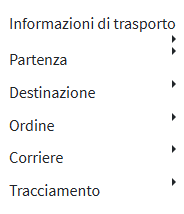
while in the Date and Time Placeholder menu you can insert Today's Date and Current Time .
16. Within the "Manage Attachments" section , the user has a dedicated interface for attaching informational documents to system-generated emails. This feature allows you to enrich the content of your communication by providing visual materials, technical documentation, or forms.
You can attach:
- Files in image format (e.g. JPG, PNG, BMP)
- PDF documents , useful for providing detailed content, receipts, manuals or forms

17. In the "Email Content" field , the user can edit and format the body of the message to be associated with events configured in the system (e.g., order confirmations, notifications, reminders, institutional communications). The entered content will be sent as the main text within the sent email.
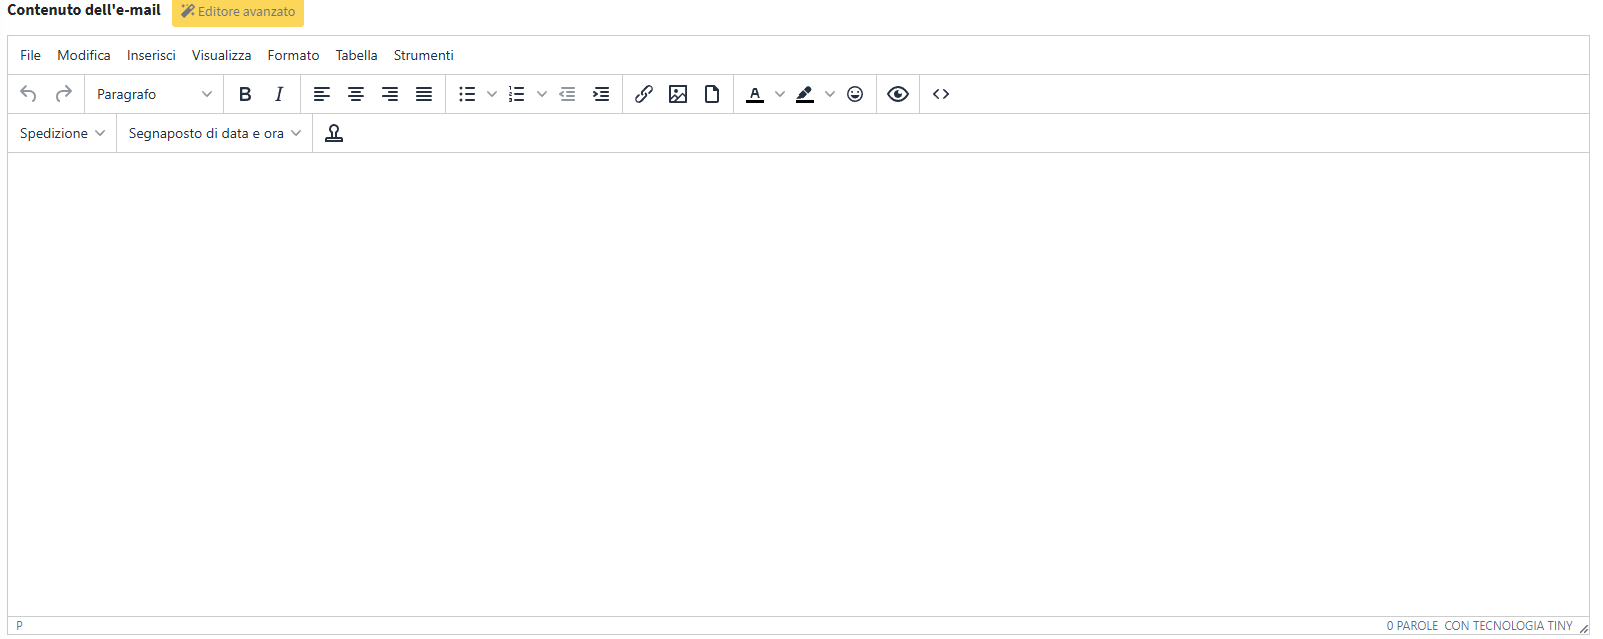

Even for the “Mail content” field , the interface offers the possibility of using pre-configured options via drop-down menus , making it easier to fill in the body of the message with predefined text templates or standard phrases .
In the Shipping drop-down menu you will find the following items that can be inserted into the body of the email to speed up its creation:

18. Click Save and Close to complete