Shopify
Introduction
The integration between Logivery and Shopify allows you to automate and centralize order management and logistics processes, optimizing time and operational resources.
Orders received through Shopify are automatically imported into the Cloud App ,
thanks to constant and seamless synchronization.
This process ensures consistency across platforms , avoiding duplication or mis-assignments.
Configuration
1. In the left menu of Shopify, click Apps.
2. In the screen that appears, click on Logivery .

3. By accessing the setup wizard, the user starts the association process between the Logivery Cloud App and their Shopify store .
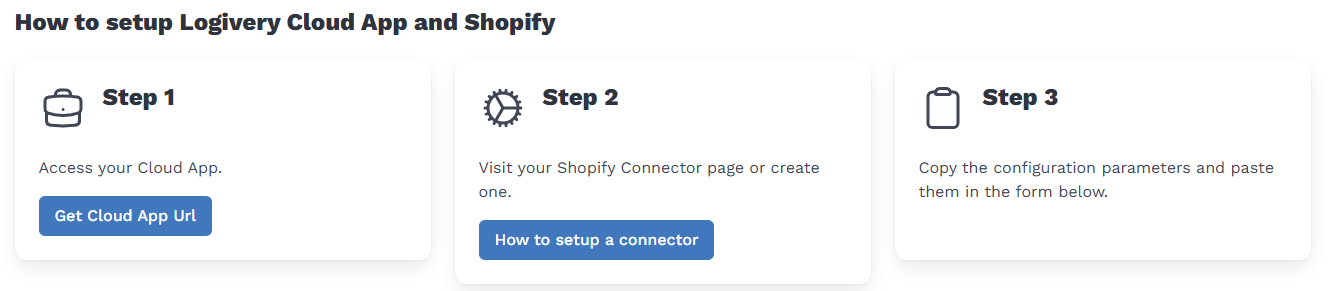
4. Click the View Cloud App URL button in Step 1 to access the Cloud App .
5. Click on the Host URL to access the Cloud App .

Configure a connector
1. In Step 2, click the How to configure a connector button to open the configuration guide.
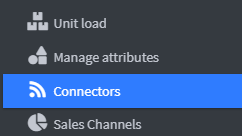
2. In the left menu of the Cloud App, click on Connectors .
3. At the top right, click Add Connector .
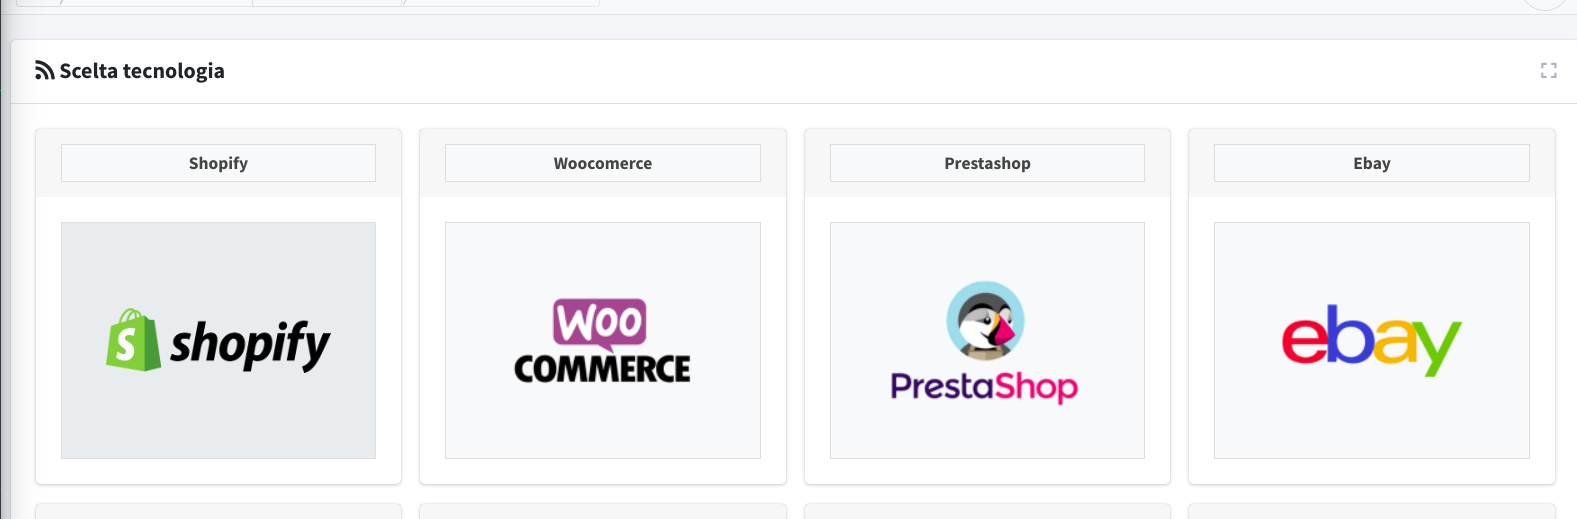
4. On the next page, click on the desired technology icon ( Shopify ).
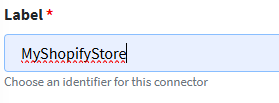
5. During the guided setup, you'll be asked to fill out the form by entering an identifying label for the connector. The label serves as a descriptive name to distinguish the connector within the Cloud App, especially in multi-store contexts.
6. Click Save and Continue 
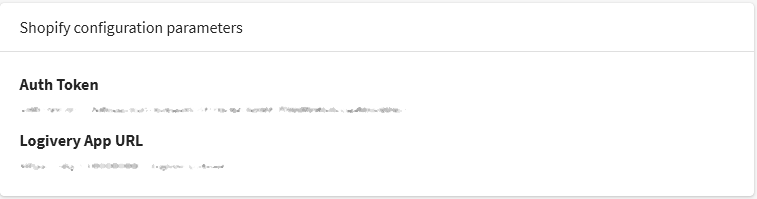
7. Once the initial configuration is saved, the user is automatically redirected to the connector editing page .
This screen provides essential technical information , including:
- Authorization token : System-generated code required for secure authentication between Logivery and Shopify.
- Logivery App URL : unique address of the Logivery application associated with the connector, used for communication between the two platforms.
8. In the Advanced section , make sure that Enable automatic processes is enabled to allow orders to automatically sync between Shopify and the Cloud App .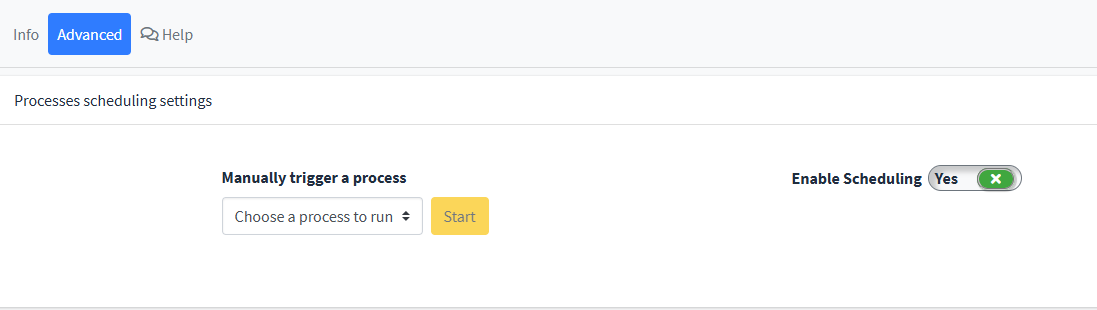
9. Go back to the setup wizard to enter the Authorization Token and the Logivery App Url in the appropriate fields .

10. Once you have completed the connector setup, you can verify the correct connection with Shopify by clicking on the blue "Test" button .
11. Click Save (green icon) to finish and confirm the connection 
12. From now on, every order created will be automatically synchronized with the Cloud App, as long as the 'Enable automatic processes' option is active on the connector configuration page.
Tag Usage
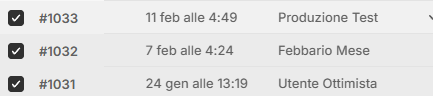
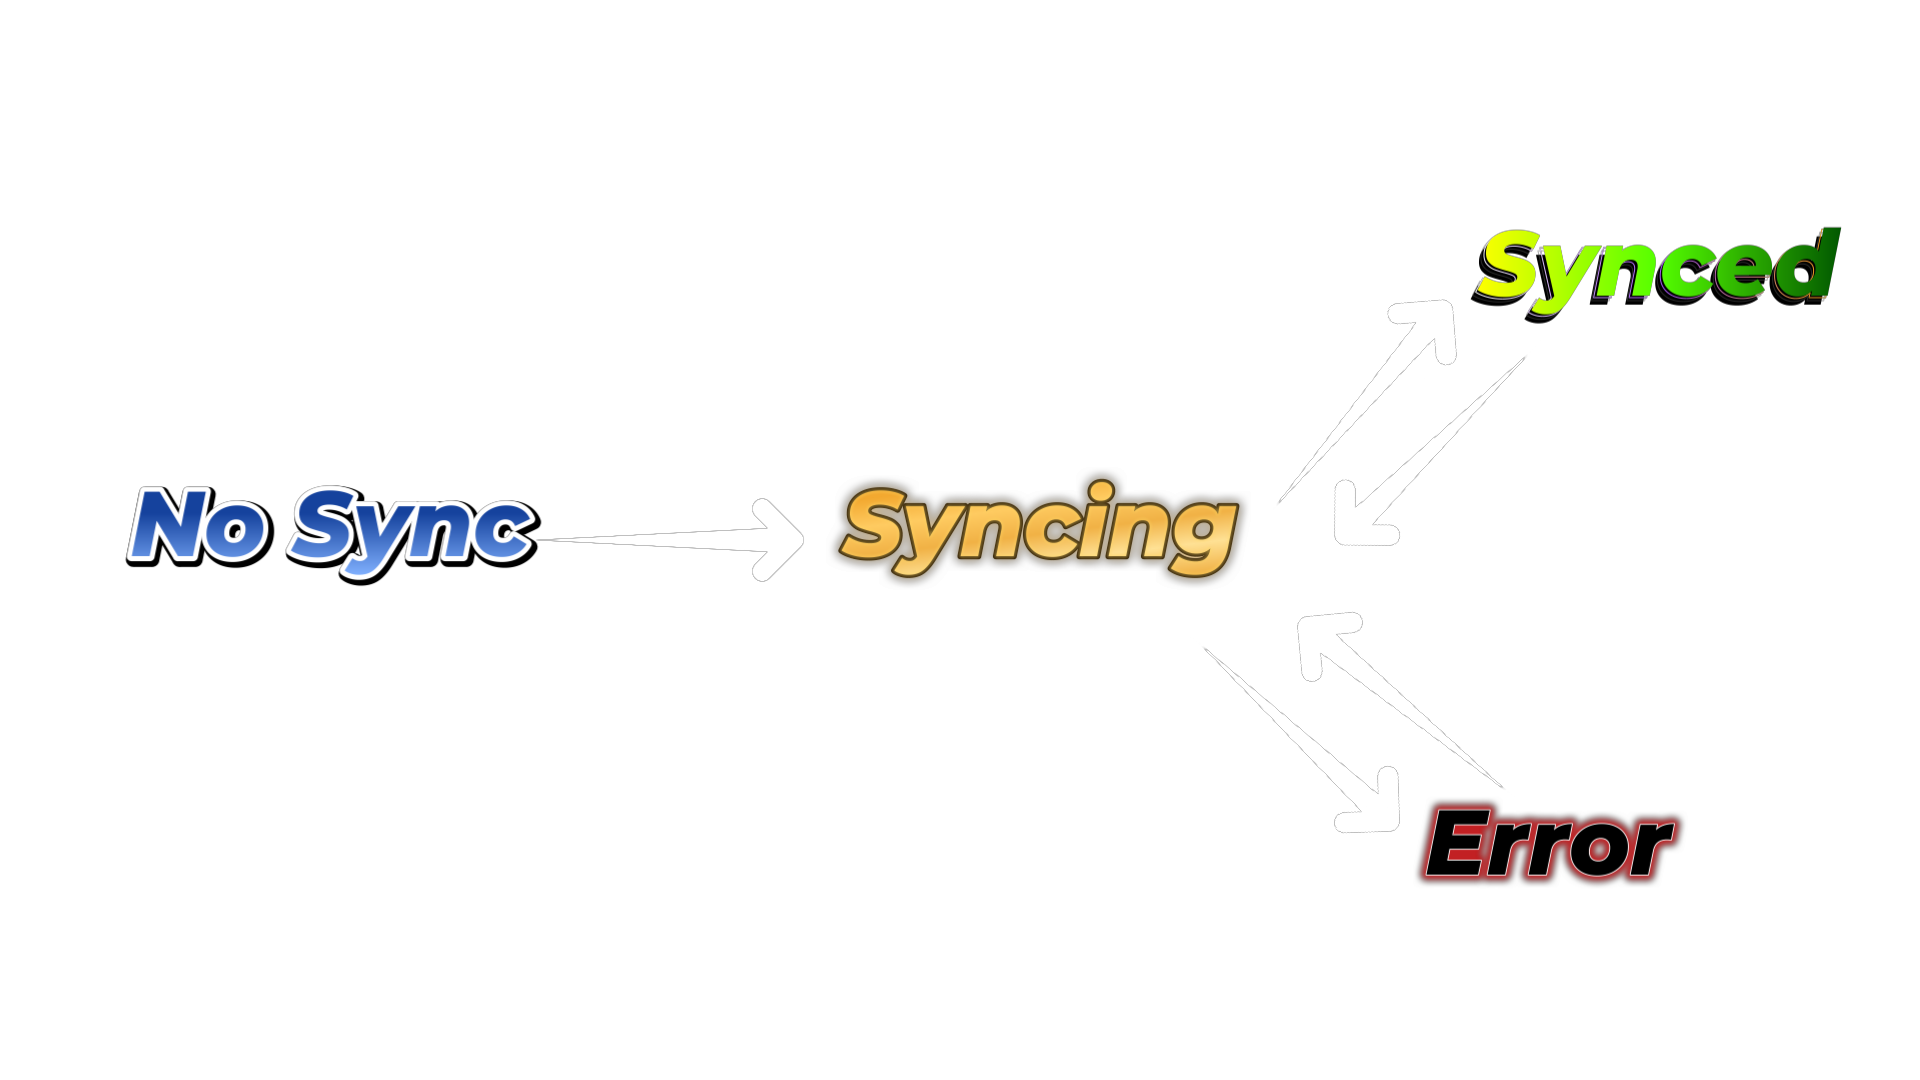
1. The app relies on order tags to function. Orders without tags are not automatically synced to the Cloud App. After installing the app, importable orders are marked with the 'logivery-no-sync' tag.
2. If there are export orders that were created before the installation of the Logivery Cloud App, it is necessary to move them to the " logivery-no-sync " status.
3. Select the desired orders by checking the box in the appropriate field.
4. In the drop-down menu, marked by the three dots at the top right, select Add Tag .
5. In the status list, select " logivery-no-sync " and press Save.
6. The selected orders will appear in the list with the tag " logivery-no-sync ".
7. When an order is sent to the Cloud App, it is assigned the 'logivery-syncing' 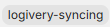 tag , indicating that the synchronization process has begun. Once the Cloud App receives confirmation, the tag is automatically updated to 'logivery-synced
 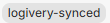 '.
'.
8. All order export operations after the first one involve assigning the " logivery-syncing " tag to the orders involved.
9. In case an order export or update operation is not performed correctly, the system records the event as an error in the Cloud App logs and automatically assigns the ' logivery-error ' tag to the affected orders. 
Order Export
Orders tagged with " logivery-no-sync " are automatically exported when the connector's automatic processes are enabled.
If automatic processes are disabled or you want to force the import to create a new order or modify its data, you can use the manual actions on the order list and single order pages:
- Sending multiple orders based on the "logivery-no-sync" tag.
- Sending multiple pre-selected orders.
- Sending a single order.
Sending multiple orders based on the "logivery-no-sync" tag
1. Visit your Shopify orders listing page (e.g., https://admin.shopify.com/store/storename/orders )
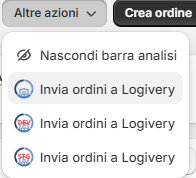
2. From the More Actions menu , choose Send Orders to Logivery .
3. Select Send .
Sending multiple pre-selected orders
1. Visit your Shopify orders listing page (e.g., https://admin.shopify.com/store/storename/orders )
2. Select the orders to import into the Cloud App.
3. In the More Actions menu of the table marked with " ... ", choose Send Orders to Logivery .
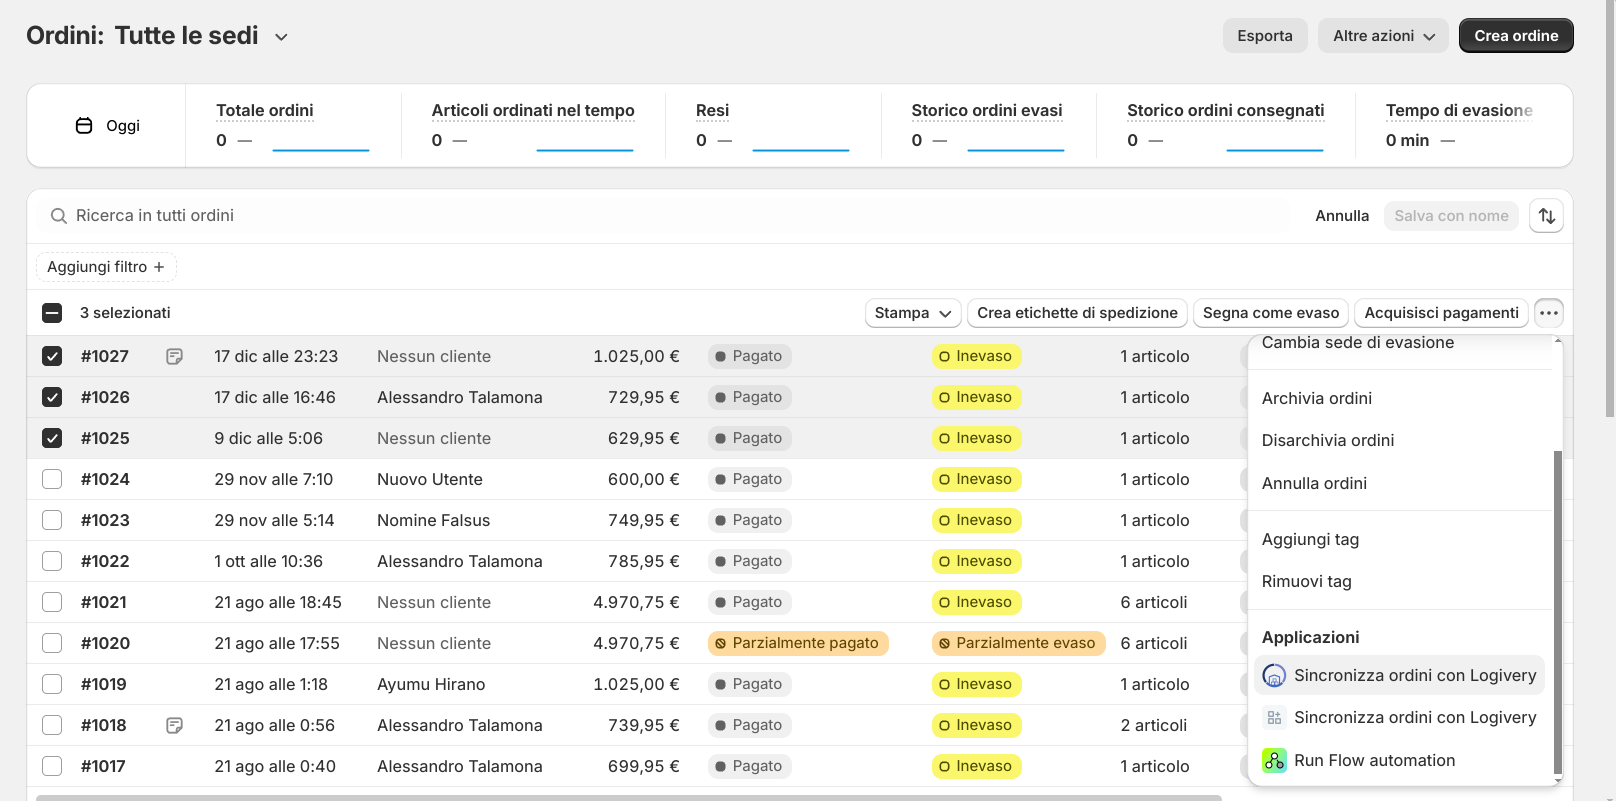
4. Select Send .
Sending a single order
1. Visit an order details page (e.g., https://admin.shopify.com/store/storename/orders/orderid ).
2. From the More Actions menu , choose Send Orders to Logivery .
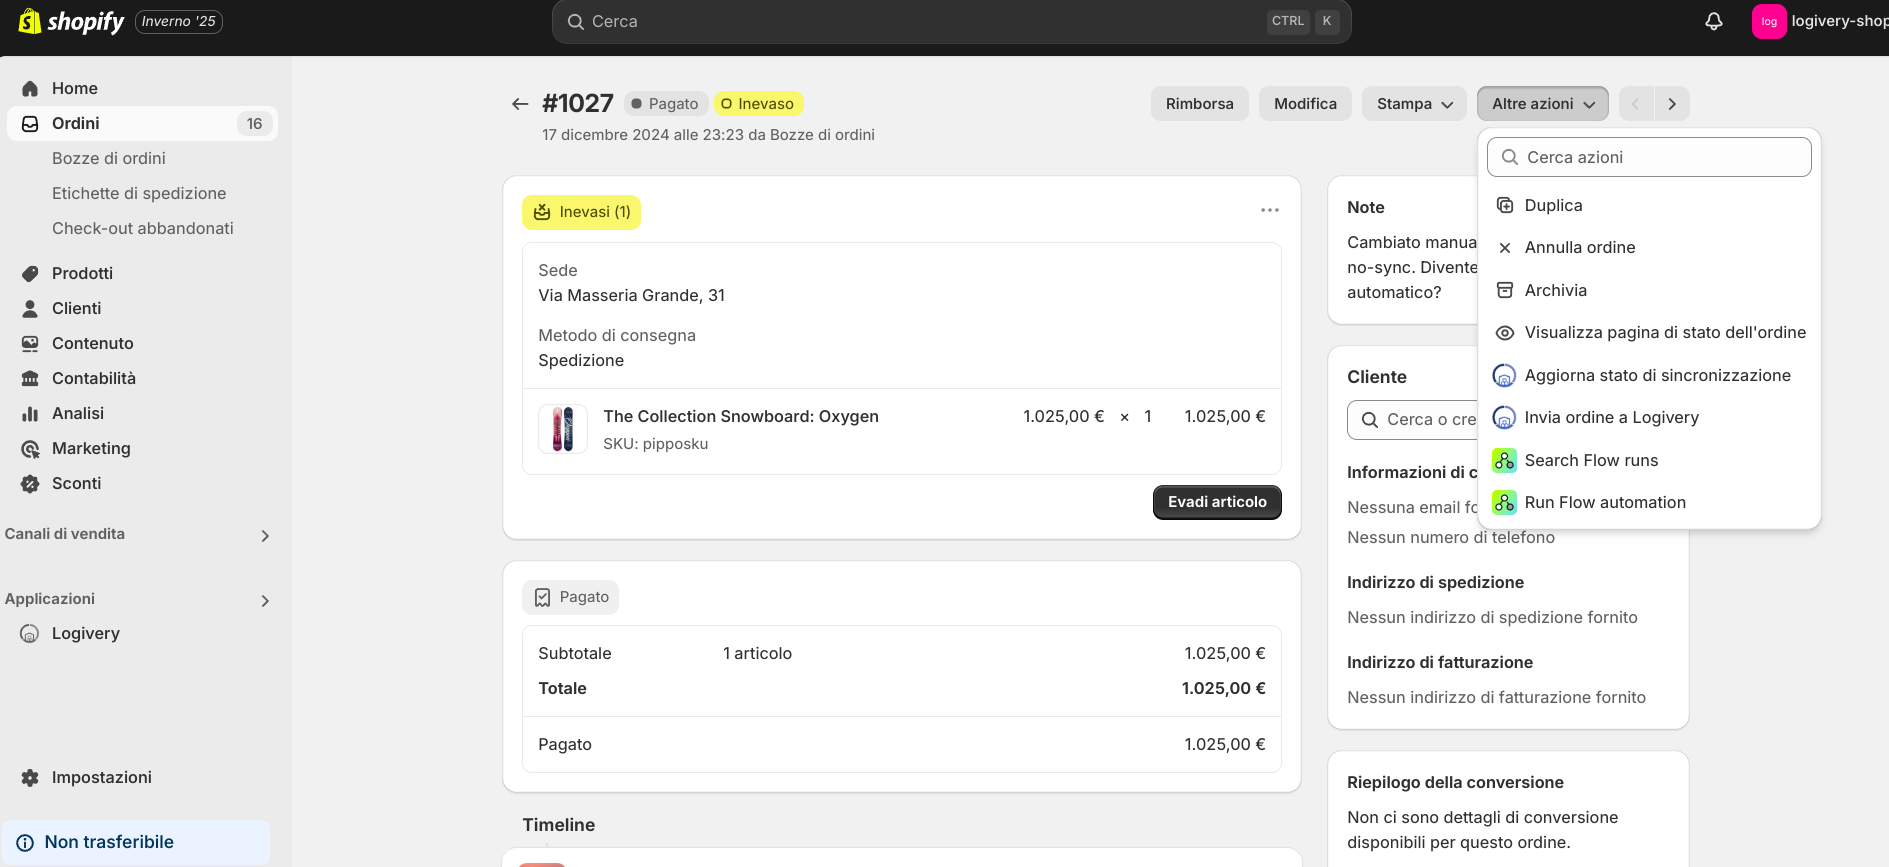
3. Select Send .
Order Update
Order information can be updated by resubmitting the order to the Cloud App using one of the manual methods listed above in the Exporting Orders guide.
Shipment status updates are handled automatically when the connector's automatic processes are enabled.
Updated "logivery-syncing" tag
If an order is in the "logivery-syncing" state, you can force an early update of the sync status by doing this.
1. Visit an order details page (e.g., https://admin.shopify.com/store/storename/orders/orderid ).
2. On the More Actions menu , choose Update Sync Status .
3. Select Send .
Running manual processes in Cloud App
On the Advanced connector editing page , in the Job Scheduling Settings section , you can schedule some jobs to run immediately by selecting the desired one in Run a job immediately and clicking Run .
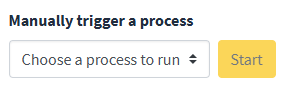
The selectable processes are:
- Sync : Check the status of older order imports, setting the correct tags in your Shopify store for the affected orders.
- Import orders : Import latest orders (maximum 5 at a time).
- Export Shipped Orders - Update the shipping status in your Shopify store for orders managed through Cloud App that have been shipped.
- Export delivered orders - Update the shipping status in your Shopify store for orders managed through Cloud App that have been delivered.
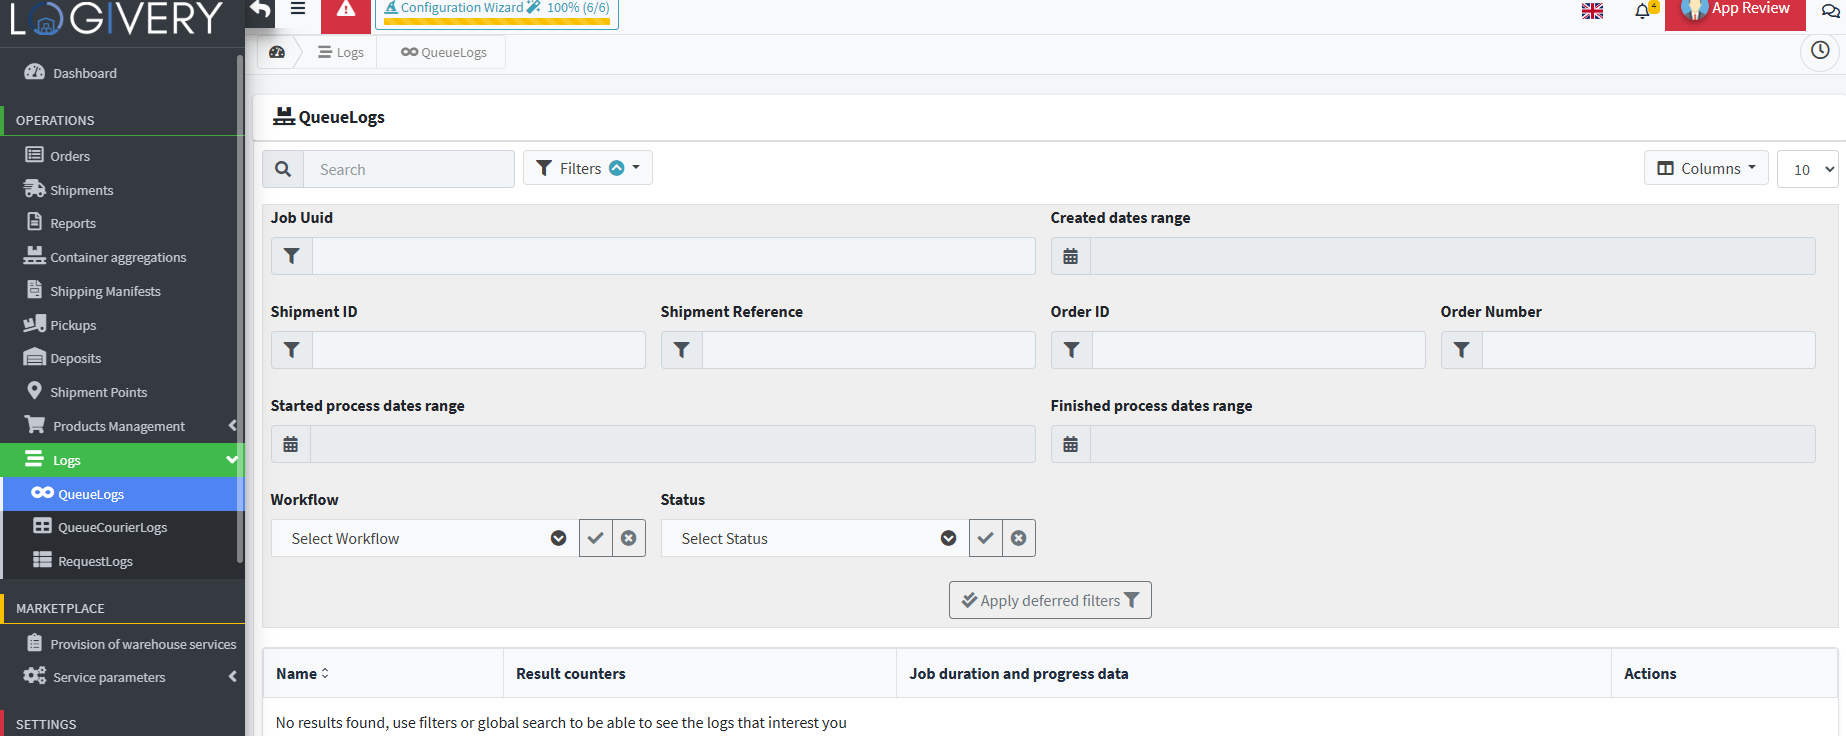
Tail log
In the Cloud App, you can access logs to see, among other things, the results of background operations performed for the connectors you create.
The page is accessible from the main menu by clicking on Log > Queue Log.