API Logivery
Introduction
With this integration, orders coming from a Logivery API are automatically imported into the Cloud App , maintaining continuous and seamless synchronization.
Logivery API Configuration
1. The first step is to create a connection with the Logivery API Connector .
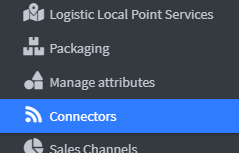
2. Click on Connectors ( 📄 Sales Channels & Connectors ) in the left menu under the configurations heading.
3. Click Add Connector at the top right 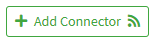
4. In the list, choose the connector with the Logivery API logo.
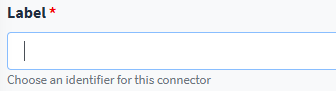
5. On the Logivery API connector configuration page, enter an identifier for the connector you want to create in the Label field.
6. In the Description field the user must enter a description of the connector being created.

7. Below are the Permissions that the user can enable for creating the connector.

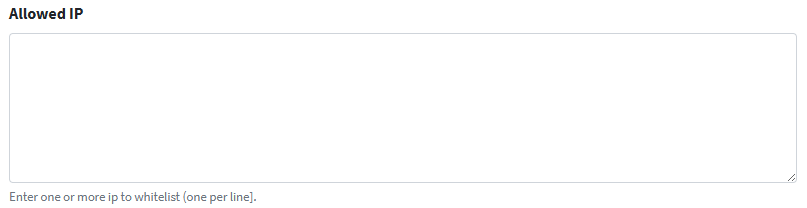
8. In IP enabled the user has the opportunity to choose to accept API calls only from certain clients, identified by their IP address, this is very useful to increase the level of security.
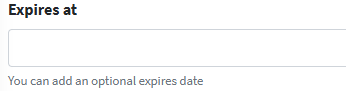
9. In the Expiration field, define the expiration date of the Connection Token.
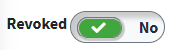
Using the Revoked button you can also disable the Token at any time.
10. Once this configuration is complete, click on Save and Continue. 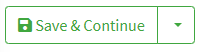
11. After saving, the Token to be used for the connector will be created and displayed.

12. Click Save and Continue to complete the setup.