ePrice
Introduction
The integration of Logivery with ePrice allows you to optimize the management of orders and logistics processes in an automatic and centralized way.
With this integration, orders from ePrice . are automatically imported into the Cloud App , maintaining continuous and uninterrupted synchronization.
ePrice Configuration
1. The first step is to create a connection with the ePrice Connector .
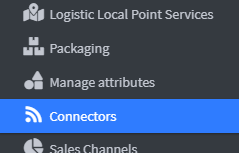
2. Click on Connectors ( 📄 Sales Channels & Connectors ) in the left menu under the configurations heading.
3. Click Add Connector at the top right 
4. In the list, choose the connector with the ePrice logo.
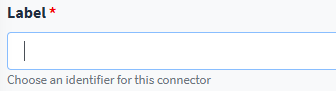
5. In the ePrice connector configuration page, enter the connector identification label.
6. Next you need to get a connection token between the Cloud App and the ePrice Marketplace .
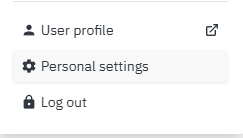
7. Log in to the ePrice Marketplace and go to the user logo at the top right.
8. Choose the Personal Settings option.
9. Click on the API Keys item and then on Generate a new key.
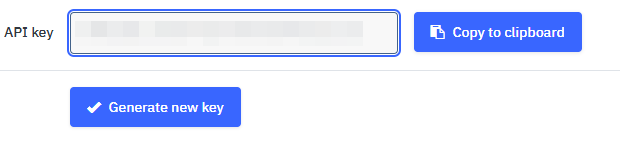
10. Once the API Key is generated click on Copy to Clipboard .
11. Back on the configuration page in the Cloud App paste the Key into the API Key field.

12. Click Save and Continue to access the advanced connector settings.
Advanced Settings
1. Click Advanced to enter the advanced settings of the ePrice connector .

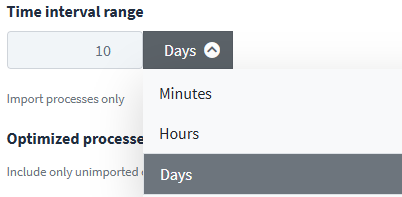
2. The Time Range indicates the time frame in which the orders must be imported, it can be expressed in days, hours and minutes.
3. By enabling Optimize processes the user can optimize the import of orders from ePrice to the Cloud App, also thanks to the Time Range setting.
4. The Enable automatic processes option is enabled to automatically synchronize orders between ePrice and the Cloud App .
5. The Scheduling Frequency indicates the period in which the Cloud App synchronizes and transfers the arrival of orders to ePrice .
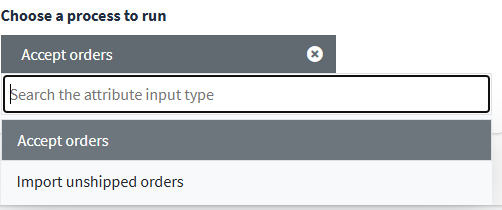
6. Using the Process to execute drop-down menu, the user can choose the type of orders to import:
Accept and import orders : accept and import all orders arriving in the ePrice Marketplace .
Import accepted orders not shipped : import only orders that have been accepted and not yet shipped.
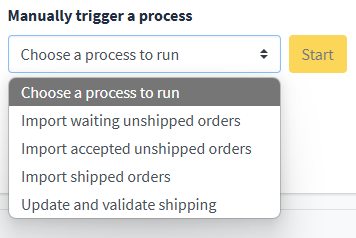
7. In the Manually trigger process drop-down menu, you can schedule the immediate execution of some processes by selecting the desired one and clicking Start.
8. Click Save and Continue to complete the setup.